Monday, October 27, 2014

TWIX OR TREAT:

Hello there! Just wanted to pop in quick with a fun last minute project. I dug out some retired washi tape from last year and stamped half of the sentiment with Good Greetings using Black StazOn. I tore a strip off twice as long as I needed and carefully folded it trying to keep a little loop formed on the left.

I then stuck a toothpick through the loop, pushed the candy bar all the way to the bottom of the package, and stuck the toothpick in. I used the 1/2" Circle Punch to cut out some images from the Motley Monsters DSP and attached them with a Dimensional.

I finished it off with a Basic Black Baker's Twine bow. You probably don't want to serve these from a sponge, but thought maybe you could unwrap some jumbo candy bars and have these sticking out of them. I hope you get a chance to make some of these fun little treats. Thanks so much for stopping by:)

Sunday, October 19, 2014

SEPTEMBER PAPER PUMPKIN:

Hello there! I'm back to share another project that I didn't know I had. This was September's Paper Pumpkin Kit called Boo-tiful Bags. I guess I was gonna wait to post them til after my grandson's and me filled them with candy, but that hasn't happened yet, so I thought I'd better share them before we give them away.

This was such an awesome kit, I've already ordered 2 Refill Kits~I think they're a bargain for $7.95 each. And so quick and easy to put together too, even a 2 year old can do it~Quinten put all the stickers on:)


I'll have both of my grandsons on Friday, so stuffing these with candy will be our project. Can't wait:) Thanks so much for stopping by!

Saturday, October 18, 2014

OCTOBER PAPER PUMPKIN:

Hello there! I didn't think I was going to have anything to share with you today, but lo and behold, I went out to get the mail and my little orange box was waiting for me! I know it's coming every month, but when I see it sitting there I let out a little squeal every month:) Complete giddyness. It didn't get here til late in the day and it's overcast, so my pictures aren't the greatest, but you get the idea.

Stampin' Up! has really stepped up their game with these kits. If you haven't tried them yet or canceled, you might want to give them a try. They seem to get better and better every month. This month's kit is called Sweet As Pie, and as you can see, the eight boxes make up a pie that you can fill with treats.

The stamp set is my favorite yet. It comes with 4 sentiments that say: Happy Thanksgiving, Thankful For You, There's No Such Thing As Too Much Pie, and my motto~Holiday Calories Don't Count. I'll definitely be putting these to use:)

I know feathers are trendy right now, but I just think they're kinda weird. I'm thinking about getting some Refill Kits, but I may come up with something different for the feathers. Besides the fun surprise every month, another perk of subscribing to Paper Pumpkin is that you can purchase past kits or Refill Kits. You can also save $ with Prepaid Subscriptions. You can order 1 month, 3 month, 6 month & 12 month subscriptions. You save $1 per month with the 6 month, and $2 per month with the 12 month subscription. And you can put them on a Workshop order and get Hostess Benefits off of them:)

My daughters, my son's girlfriend and myself have been getting together every month and having a great time making projects...and I'm thinking these prepaid subscriptions might make for some awesome Christmas presents~the gifts that keep on giving! And some freebies for me too:) Thanks so much for stopping by!

Friday, October 17, 2014

HAPPY HOUR CARD:

Hello there! I wanted to share a birthday card that I made for a restaurant in town celebrating it's 17 years of business. The name of the restaurant is Martinis so I thought Happy Hour would be the perfect set to use:) Anyone who brings in a birthday card gets a prime rib dinner for only $17 and a piece of yummy birthday cake afterwards:)

I started with a Whisper White base and added a layer of Basic Grey on top. I used the cityscape image from the limited-time photopolymer set Calling All Heroes in Black StazOn onto Whisper White Cardstock, and cut it out. I then butt it up to a piece of Basic Black Cardstock, colored the windows with Daffodil Blendabilities, and adhered it. Next, I drew a Martini glass onto a piece of Vellum Cardstock using the Squares Collection Framelits as a stencil for the triangle parts. I colored the inside vellum with the Coastal Cabana Blendabilities and punched out a few bubbles using the 1/4" Circle Handheld Punch. I strategically  placed Glue Dots under the bubbles to adhere the card together and attach it to the base.

Next, I used Melon Mambo, Daffodil Delight, Old Olive, Pumpkin Pie, Pacific Point, Bermuda Bay and Elegant Eggplant Markers to color each individual letter and punch each out with a 1/2" or 3/4" Circle Punch. I added a strip of Silver Glimmer Paper underneath the banner and sprinkled some st the top using the Confetti Stars Punch.

To finish it off, I made a custom envelope using the Envelope Punch Board and Confetti Celebration DSP. I colored the stamp with Basic Grey, Basic Black and Bermuda Bay Markers and stamped onto Whisper White. I used the Big Shot and Apothecary Accents Framelits to cut it out and added an In Color Clothespin to hold a piece of Crushed Curry Striped Grosgrain Ribbon in place.

I hope I was able to convey to Martinis how thankful I am to them for bringing some big city fun into our little town:)

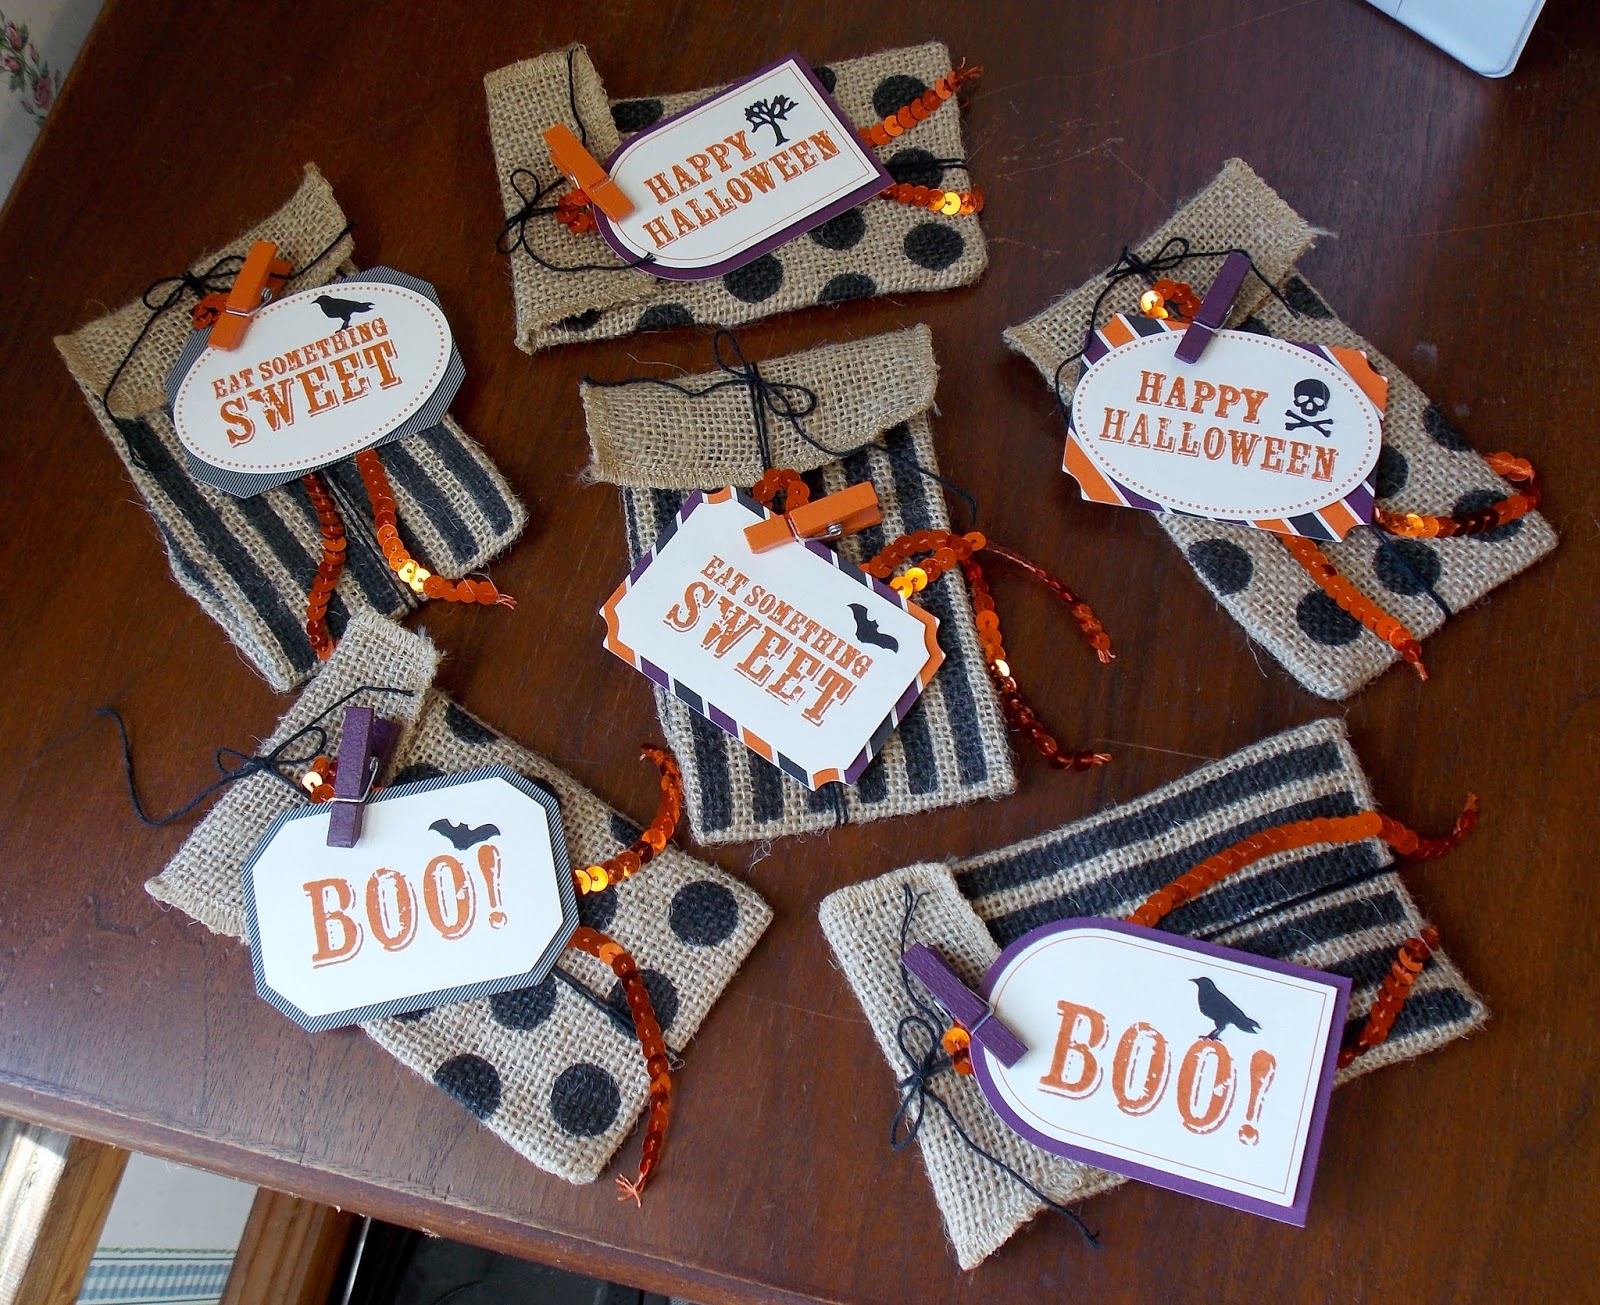
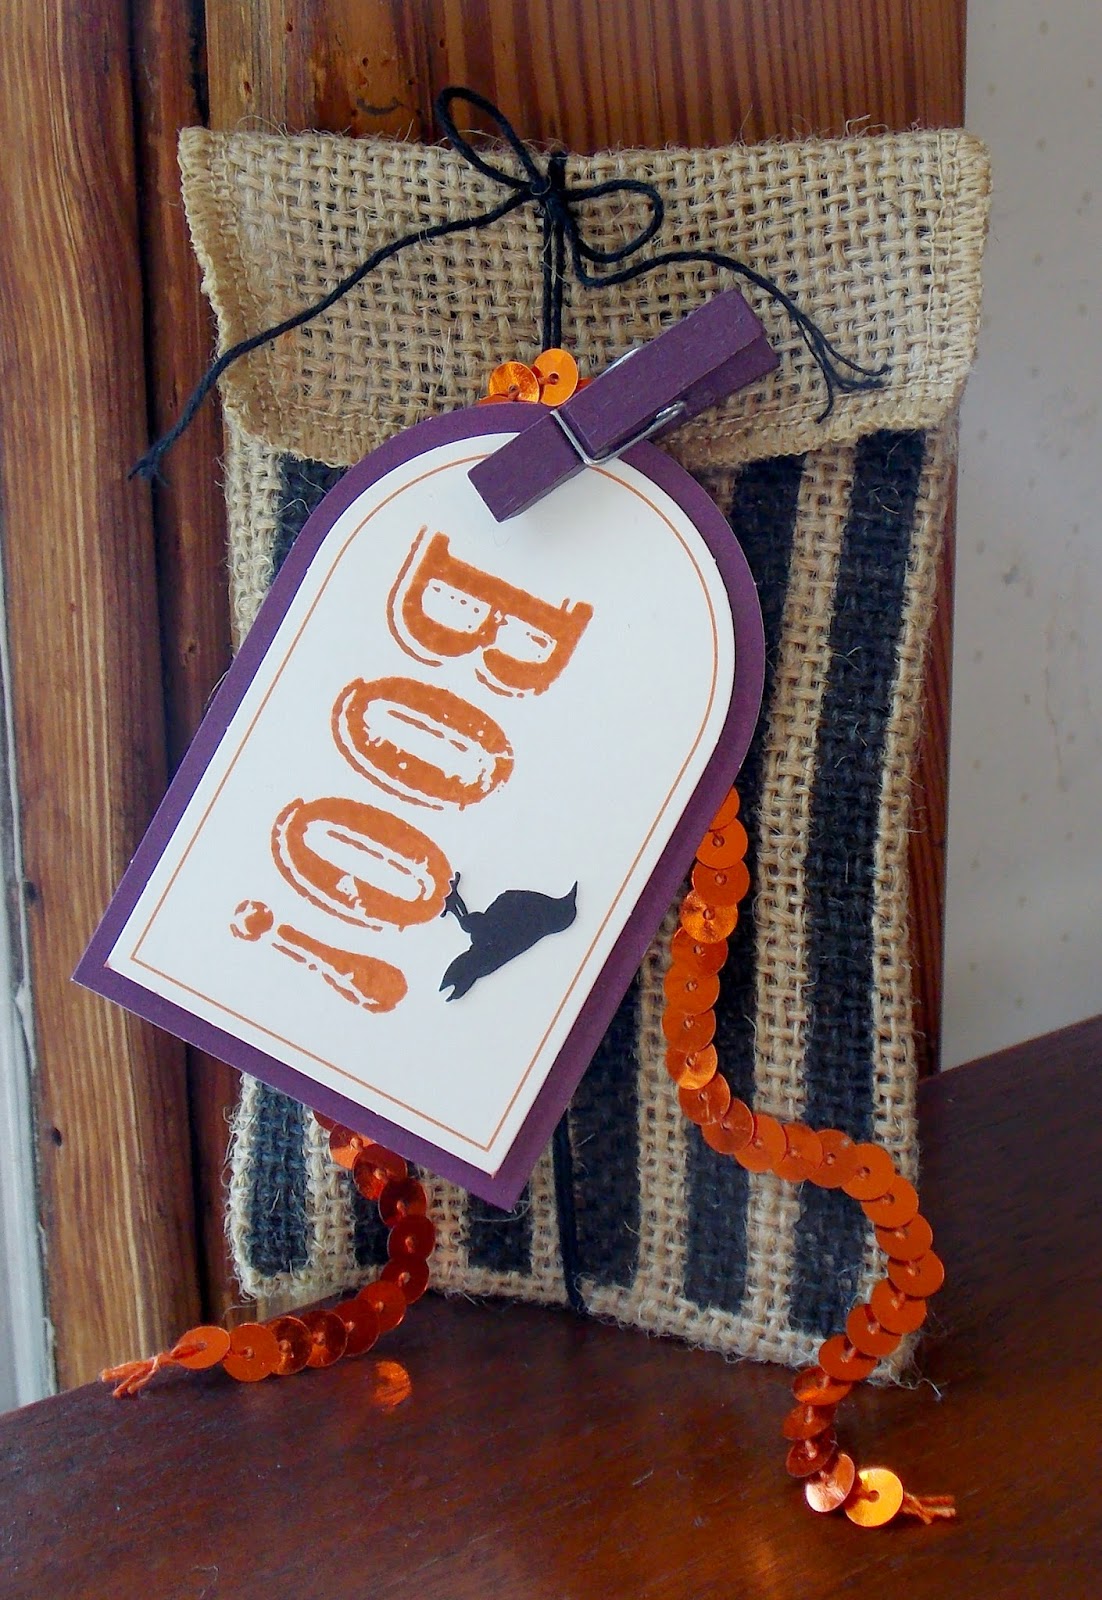
Now, onto my next project...bagging up 1200 bags of candy for our Operation Christmas Child Packing Party next week. If you're in the area and want to help pack some shoeboxes full of goodies to send to needy kids all over the world, plan to come to First Christian Church in Burlington at 6pm. Last year we filled over 1000 shoeboxes in less than 2 hours, and we're sure to beat that this year! Hope to see you Tuesday night! Thanks so much for stopping by:)

Thursday, October 16, 2014

MINGLE ALL THE WAY TREAT HOLDER:

Hello there! Here is the Hostess gift I made this month. I used the Fry Box Die, which helped me whip up this cute little turkey in minutes. I ran a piece of Soft Suede through the Big Shot and made my fry box using Fast Fuse adhesive. I used Crumb Cake, Cajun Craze, Crushed Curry, Pumpkin Pie & Cherry Cobbler Cardstock for his feathers along with the Modern Label and Word Window Punches.

I used a 1 1/4" Circle Punch for his head and used the Tree Punch for his hat in Basic Black. I added a buckle using Champagne Glimmer Paper and a retired 1/4" punch. I used the same punch for his beak in Crushed Curry Cardstock, scored it down the middle and adhered with Liquid Tombow. I used the Owl Builder Punch in Cherry Cobbler for the heart. I stamped the sentiment in Soft Suede onto Crumb Cake Cardstock and used the Ovals Collection Framelits to cut it out. I cut the top off of a Gusseted Cellophane Bag and filled it up with Mini Reeses Peanut Butter Cups. I finished it off with a piece of Crumb Cake Thick Baker's Twine that came with the Under The Tree Tag A Bag Accessory Kit.

These would make fun little favors to decorate your Thanksgiving table with. Stop back tomorrow for a festive card. Thanks so much for stopping by:)

Wednesday, October 15, 2014

CLASS REUNION SIGN:

Hello there! I wanted to share the sign I've been working on for my father-in-law's class reunion. I was hoping one of the alphabet dies I had would work for the letters, but no such luck, they were all too small. So I got some stencils at Staples, traced them onto Elegant Eggplant Cardstock, and cut them out. I butt 2 pieces of 12 X 12 Basic Grey Cardstock together and was able to use an old alphabet die set for the banner. I cut them out of Whisper White Cardstock and adhered them with Liquid Tombow. I attached the banner with Dimensionals.

I had two sets of school colors to work with~purple & grey and purple & gold. I wasn't quite sure how to pull that off, but I decided to use the common color in the center, put the grey banner at the bottom and incorporate gold at the top...somehow. The Brushed Gold Cardstock delivered:) I used the Party Pennants Die-which I got on sale during the Weekly Deals, yay! I scored it 1" from the top, folded it and ran a long piece of Basic Grey Baker's Twine across the back of the pennant pieces. I then used Fast Fuse to adhere the flaps down. I then made rosettes from the Regals DSP Stack and added a Whisper White cirle on top and a Basic Grey circle on top of that. I used another retired alphabet die set to cut the letters out of Brushed Gold Cardstock and attached with Dimensionals.

I stuck a couple of skewers into the top of the foam core and made a couple of the pompoms from the A Little Sumthin' Sumthin' Gift Box Kit. I wrapped some washi tape around to secure them. Finally, I made 2 more larger rosettes with the year they graduated onto Brushed Gold and then Dazzling Diamonds Glimmer Paper. I added some Whisper White Satin Ribbon, Basic Grey Baker's Twine and Gold Metallic Twine.

This project was a bit of a challenge, but Grandpa loved how it turned out, so all is good:) Make sure to stop back for another project tomorrow. Thanks so much for coming by:)


Tuesday, October 14, 2014

SCALLOPED TAG TOPPER PUMPKINS:

Hello there! I wanted to share these cute pumpkin pals with you from Club Card Night. This is the project my Club Members made last week. For the tall guy, I used a piece of Tangelo Twist Cardstock measuring 8" x 2", and scored at 3 1/2" and 4 1/2". The short one was 5 3/4" x 2", scored at 2 1/2" and 3 1/4". The Scalloped Tag Topper Punch was used on both ends.  I used Fall Fest with Basic Black ink and Old Olive for the leaves. I used an Old Olive Marker for the details and the Fun Fall Framelits along with the Big Shot to cut them out. I used the Simply Scored to add a little extra detail, scoring the tall pumpkin at 1/4" and the short one at 1/2".

I used the limited-time Hostess set Good Greetings in Basic Black on Old Olive Cardstock and layered a piece of Flashback DSP underneath. I used Liquid Tombow to close the tops and added a piece of Natural & Old Olive Two-Tone Trim. I finished them off with a Linen Thread bow. These would be a quick & easy project for you to make for all your little goblins this Halloween season. Make sure to stop back tomorrow. Thanks so much for stopping by:)

Monday, October 13, 2014

MINGLE ALL THE WAY CARD:


Hello there! Here's the last card we made last week at Club Card Night. I got some help from our Stampin' Success magazine again with this one. Actually, I copied it exactly except I added the woodgrain embossing using the Woodgrain Embossing Folder (duh) along with the Big Shot. I started with a Whisper White base and added a piece of Motley Monsters DSP. I added a layer of Crumb Cake Cardstock on top that was stamped with Mingle All the Way in Soft Suede.

The plump little pumpkin was stamped in Tangelo Twist using Fall Fest and cut out with Fun Fall Framelits. Buy them both and save 15%:) Before I stamped the pumpkin, I wiped off the ink on the stem and colored it with an Old Olive Marker. I then used a Tangelo Twist Marker to draw the lines. I love the added depth and texture those lines give. I stamped the leaf in Old Olive, added the detail with an Old Olive Marker and attached it with a Glue Dot.

I finished it off with a piece of Linen Thread that I wrapped around a skewer and sprayed with alcohol. I held it in place for a minute or so and got the cute little curves. I attached it to the back with a Glue Dot. Another fun & quick & easy card:) Make sure to stop back tomorrow for a couple of goodies. Thanks so much for stopping by!

Sunday, October 12, 2014

YIPPEE-SKIPPEE!/LABEL LOVE CARD:

Hello there! I was noticing awhile back that I only have 1 Anniversary card, so I thought we needed to make one this month. This is another card we made at Club Card Night and both Yippee-Skippee! & Label Love get top billing. I started with a Baked Brown Sugar base and added a piece of Lullaby DSP to the top. I stamped the sentiment in Baked Brown Sugar onto Whisper White Cardstock that was 6" wide. It needed to be a little wider than the card base to be able to put it at an angle. I added a Hello Honey border that was punched with the Scallop Edge Border.

I stamped the label in Baked Brown Sugar as well and punched it out with the Artisan Label Punch. I sat that on top of Champagne Glimmer Paper that I punched out with the Scallop Oval Punch. I added a couple of Crisp Cantaloupe hearts punched out with the Itty Bitty Accents Punch Pack and topped them off with a couple of hearts from the In Color Sequin Assortment.

I added a little extra interest by stamping a row of arrows using the Project Life set Point & Click and added some Sweet Sadie Washi Tape. I finished it off with a Crushed Curry Baker's Twine bow. I'm going to go make a half dozen of these so I'm stocked up when I need an Anniversary card. Stop back tomorrow for a fun Thanksgiving card. Thanks so much for stopping by:)

Saturday, October 11, 2014

FABULOUS FOUR CARD:

Hello there! Popping in quick to share another card we made the other night. I got the idea for this card from our demonstrator Stampin' Success magazine, but changed the colors up a bit to work for a masculine card. I started with a Crumb Cake base and punched out a tag in Pistachio Pudding with the help of the Angled Tag Topper Punch. I used the set Dotty Angles for the background and used Pistachio ink as well.

I stamped the sentiment from Fabulous Four in Calypso Coral onto Very Vanilla Cardstock. I added a piece of Baked Brown Sugar Thick Baker's Twine through the tag and added a Basic Hogepodge Clip for fun:) I then tucked a piece of Epic Day Washi Tape underneath the tag.

I finished the card off by sprinking a few Crumb Cake stars around using the Confetti Stars Punch from the Holiday Catalog and adhereing them with Liquid Tombow. Another quick & easy card that was alot of fun to make. Well off to work on a class reunion sign before Hurricane Q gets here:) Make sure to swing by again tomorrow. Thanks so much for stopping by!

Friday, October 10, 2014

FOR THE BIRDS CARD:

Hello there! This is one of the cards we made at Club Card Night last night using the set For the Birds. I wanted them to try out the Blendabilities and this set worked perfectly. I started with a Crumb Cake base and added a piece of Flowerpot DSP mounted to a piece of Night of Navy Cardstock. I layered a Square Envelope on top and wrapped a piece of Tangelo Twist Stitched Satin Ribbon around it.

I stamped the image with Memento Tuxedo Black ink, which works the best with Blendabilities. I used the Night of Navy Assortment and did a little blending with the Color Lifter. Finally, I added a Tangelo Twist heart that I punched out with the retired heart punch.

I don't know what got into me this month, but all the cards were fairly quick & easy. I don't think my card ladies minded one bit:) Stop back tomorrow for another card we made. Thanks so much for stopping by:)

Thursday, October 9, 2014

KIND & COZY FAVOR:

Hello there! I've got my Club Card Night tonight and amazingly I'm ready 2 hours early! I thought I'd share this project now, as I'll be too spent to do it later. I like to have a fun little favor every month and this is what will be waiting for my ladies tonight.

I used the set Kind & Cozy, one of my favorites. I stamped the gingham in Tangelo Twist onto Very Vanilla Cardstock. I used Crushed Curry, Soft Suede, Old Olive & Tangelo Twist Markers to color the flower images and punched the circle out with the 2 1/2" Circle Punch. I adhered it to a Tangelo Twist circle cut out with the Starburst Framelits and Big Shot.

I cut a strip of Flashback DSP and stamped the sentiment in Old Olive. I punched out the heart with a retired punch and adhered it to a Very Vanilla circle punched with the 7/8" Scallop Circle Punch. I topped it off with an Old Olive Baker's Twine bow and added a piece of the yummy chunky Natural & Old Olive Two-Tone Trim. I filled these adorable mini jars with Candy Corn & dry roasted peanuts. Yum-yum:) Make sure to stop back tomorrow as I have lots more to share! Thanks so much for stopping by:)

Wednesday, October 8, 2014

FRIGHTFUL WREATH GIRL'S NIGHT:


Hello there! I wanted to share a few pictures of the awesome Girl's Night we had this past week-end. I got a Frightful Wreath Kit for my daughters and my sons girlfriend and we had a great time putting them together.

Sara was a little intimidated at first, but did an amazing job! The wine probably helped too:0

I love how Olivia used the silver cord to make a string for the spider to hang from.

We used Halloween Street and an old Paper Pumpkin kit for the stamped images. The sentiment is stamped in Perfect Plum and the splatter in silver.

It was fun to see how we each put our own spin on them. Note: Please excuse the Billy Bob teeth-one of the downsides of merlot.

We had so much fun~there will definitely be more Girl's Nights in the near future! Thanks so much for stopping by:)

Friday, October 3, 2014

CLUB CARD NIGHT SNEAK PEEKS:

Hello there! Just wanted to pop in and share a little peek at the cards we'll be making next week:


I can't wait to get together with this awesome group of ladies! I'll share these cards next week along with lots of other funtastic fall projects! Thanks so much for stopping by:)