Sunday, September 30, 2018

SPOOKY SWEETS CARD:

Hello there! I have a spooky card for you today made with the Spooky Sweets Bundle. I started with a Basic Black base and added a layer of Twinkle Twinkle DSP on top. I then cut several bats from a piece of Basic Black Cardstock using the Spooky Bats Punch, and attached it with Dimensionals.

I cut a circle using the Layering Circles Framelits from Crushed Curry Cardstock, and stamped the background with Crushed Curry ink as well. I stamped the sentiment with Memento Black ink. I then cut the fence from a piece of Galvanized Metallic Paper using the Farmhouse Framelits. I squeezed some of the pieces together to make it look rickety. I attached it with Glue Dots as well as the bat. I attached the bats to the moon with Dimensionals.

I tucked a strip of Toil & Trouble DSP under with fence with SNAIL and added a few Basic Rhinestone Jewels.

I really like all the Halloween sets in the Holiday Catalog this year but told myself I didn't need them all...apparently I didn't listen:)

And talk about 'spooky'...I'm a little less than $200 away from earning the SU! Incentive Trip to the Greek Isles! Today is the last day to earn the trip, so I'm offering some really great incentives for you to help me get on that boat:
   *Place a $30 order & get a package of Dimensionals for FREE!
   *Place a $50 order & get $10 in product of your choice for FREE!
   *Place a $75 order & get the Frights & Delights Paper Pumpkin Kit for FREE!(a $21 value!)
   *Place a $100 order & get a Host Set of your choice for FREE!(8 to choose from!)

Please let me know if you can help me get there! I'm also going to give a special surprise to the person whi gets me to 160,000 points! Thanks so much for stopping by:)


Saturday, September 29, 2018

TURKEY FAVORS:

Hello there! I made this cute little turkey favor for the attendees at Debra's Workshop earlier this week. I got the idea from Rachael Coon at the Joy of Stampin' with Rachael. She made a really cute Thanksgiving card using the feather image from the Making Every Day Bright stamp set in the Holiday Catalog. I changed it up a little and used the large balloon from the Balloon Bouquet Punch for the body. I used Soft Suede Cardstock and used the Christmas Bulb Builder Punch for the head.

I used the Fox Builder Punch for several parts of him. His feet in Crumb Cake Cardstock, the beak in Crushed Curry, his gobble thing from Real Red Cardstock-just cut apart the fox tail tip, and I made the hat from Basic Black Cardstock-cut from the face image. I added his eyes with a Journaling Pen & attached the face pieces & hat with Liquid Tombow. I attached his feet with rolled Glue Dots & attached his head to his body with a Mini Dimensional.

I stamped the feathers from Making Every Day Bright with Memento Black ink onto Crushed Curry, Pumpkin Pie, Cajun Craze & Real Red Cardstock. I used the coordinating Christmas Bulb Builder Punch to punch them out. I attached some feathers with Liquid Tombow and attached some with Mini Dimensionals to give them some depth.

I cut strips of DSP from the Regals 6" x 6" DSP measuring 2" x 6" and scored them at 2 3/4" & 3 1/4". I stapled them close the the edge at the top and a Fun-sized Butterfinger fits inside perfectly. I then attached the turkey to the front of the DSP with Dimensionals. You'll want to attach the turkey so it overhangs a bit at the bottom; this will help it to stand up.

I added bows with Crumb Cake Classic Weave Ribbon & Real Red Cotton Ribbon & attached them with Glue Dots. I stamped the sentiment from Itty Bitty Greetings with Memento Black ink & used the Classic Label Punch to punch it out. I adhered it to the top of the DSP with Liquid Tombow. I made a loop from Gold Mini Sequin Trim, secured it with a Glue Dot and added a Gold Library Clip to secure it all. I made the gold buckle on the hat from Gold Glimmer Paper using the At Home Framelits.

The first one was really fun to make but I gotta tell ya, making 11 more wasn't as much, haha:) You'll just need to allow yourself enough time if you plan to  make a bunch of these, and you might want to recruit some help:) But in the end they were well worth the effort! Thanks so much for stopping by:)


Friday, September 28, 2018

FARMHOUSE CHRISTMAS CARD:

Hello there! I'm apologizing yet AGAIN for being late in getting this posted. I am in the process of losing my mind trying to earn the Incentive Trip. I thought I was there, but my numbers were off a hair and I'm about $200 away! I've been scrambling with a lot of last minute stuff, but I think it's going to happen!!! This is the other project we made at Debra's Workshop the other night, featuring the Farmhouse Christmas Bundle-one of my favorites from the Holiday Catalog! I started with a Cherry Cobbler base and added a couple of the adorable patterns from the Festive Farmhouse DSP.

I stamped the truck with Memento Black ink onto a piece of Very Vanilla Cardstock and cut it out with the Stitched Shapes Framelits. I colored it with the Cherry Cobbler, Old Olive, Smoky Slate, Basic Black & Light Crumb Cake Blends. I adhered it with Dimensionals and attached a piece of the adorable Striped Burlap Ribbon on top with Tear & Tape.

I stamped the sentiment with Memento Black ink onto Mossy Meadow Cardstock and cut it out with the coordinating Farmhouse Framelits. I bought the stamp set & framelits as a bundle & saved 10%! I attached the sentiment over the ribbon with Mini Dimensionals. I ran a piece of Festive Farmhouse Cotton Ribbon through a Galvanized Button and attached it with a couple of Glue Dots.

This is such a fun bundle and there are so many amazing products included in this suite. If you're interested in any of these fun products and giving me the small boost I need to get on that boat, please contact me! Thanks so much for stopping by:)

Monday, September 24, 2018

DAISY KRAFT PILLOW BOX:

Hello there! I have a good friend who hosted a Workshop last night and this is one of the projects we made. I knew there would be guests who have never stamped before so I didn't want to overwhelm them...as I'm really good at doing:) Everyone did a great job and we had so much fun:) I'm so glad to have spent the evening with this awesome bunch! I gave them each a Kraft Pillow Box and let them cram as much chocolate inside as they could.

We then stamped the little flower trio from Daisy Delight onto a piece of Country Lane DSP. We inked up the stamp with Vegas Gold Shimmer Paint using a Sponge Dauber & stamped the image a couple times to give the paper a pretty sheen. We flagged the end, adhered it to the pillow box & attached a Pearlized Doily half on top. We stamped the daisy twice onto a piece of Crushed Curry Cardstock using Early Espresso ink and punched them out with the Daisy Punch. We rounded the petals slightly with a Bone Folder and adhered them together with a Dimensional in between.

Next, we punched a small circle from Early Espresso Cardstock using the 1/2" Circle Punch. We attached it to the flower center, added a Gold Faceted Gem & attached it to the DSP with a Dimensional. The sentiment was stamped with Early Espresso ink onto a strip of Whisper White Cardstock. We flagged the end, tucked it under the flower & secured it with a Dimensional.

There was a big crew of 10 of us last night & it got a little nutty at times, but we really had a good time:) I'm so glad to have a bunch of new friends! Stop back tomorrow for another fun card that we made. Thanks so much for stopping by!


Sunday, September 23, 2018

TRICK OR TWEET CARD:

Hello there! I'm so sorry I didn't get back with this the other day, it's just crazy town around here as I'm in the final stretch to earn the Incentive Trip! I had this made last week but I've had events back to back and throw in a few grandkids...well you can imagine:) I shared that you can make really fun plaing backgrounds using the Buffalo Check Background Stamp and a couple Stampin' Write Markers. I started with a Gorgeous Grape base and centered a piece of Whisper White Cardstock on the Stamparatus.

I barely clipped 2 opposite corners with washi tape to secure the cardstock, and inked the stamp with Pumpkin Pie ink. I reinked & stamped 3 times to get the coverage I wanted. I then removed the cardstock and trimmed it down, cutting off the sides that were covered up with the washi tape. I then took a metal ruler and centered it between 2 rows vertically. I ran a Granny Apple Green Marker along the edge & repeated all the way across the cardstock. I then turned the cardstock horizontally and repeated the process with a Gorgeous Grape Marker. It's so fun to create a custom pattern in whatever color scheme you want!

I adhered the cardstock to the card base with SNAIL and added a layer of Toil & Trouble DSP on top. I stamped the bird with Memento Black ink and colored it with Mango Melody, Dark Pumpkin Pie & Light Basic Black Blends. I cut it out with the Stitched Shapes Framelits. I stamped the sentiment with Memento Black onto Mango Melody Cardstock, punched it out with the Duet Banner Punch and adhered it with Dimensionals.

I punched the moon & stars from Gold Glimmer Paper using the Twinkle Builder Punch. I attached the moon with Mini Dimensionals and the stars with Liquid Tombow. I hope you'll give this fun plaid technique a try! Remember, place a $50 order by tomorrow and get a package of Frosted & Clear Epoxy Droplets for FREE-a $9 value! Make sure to check out my Facebook group page SU!P FRIENDS! tomorrow, as I'll have lots of exciting things happening for my final push to get on that boat! Thanks so much for stopping by:)

Thursday, September 20, 2018

WARM HEARTED CARD:

Hello there! Today I have a really quick & easy card using the Host Set Warm Hearted & the Buffalo Check Background Stamp-two of my favorites from the Holiday Catalog:) I started with a piece of Pumpkin Pie Cardstock and inked it up with Pumpkin Pie ink as well. Using the Stamparatus made it a breeze to get the coverage I needed by being able to stamp it multiple times & getting perfect positioning each time!

I centered the cardstock in the center of the Stamparatus, keeping it away from the hinges to get better coverage. I then just barely clipped 2 corners with washi tape to keep it in place, and was able to reink and stamp several times. I then trimmed it down, cutting off the sides where the washi tape was. I then wrapped a piece of Black Glittered Organdy Ribbon around the cardstock, secured it on the back with Glue Dots & attached to the card base with SNAIL.

I stamped the sentiment with Memento Black ink onto a piece of Whisper White Cardstock that I cut out with the Stitched Shapes Framelits. I stamped the shadow image with Pumpkin Pie ink. The background was stamped with Smoky Slate ink and I stamped the skulls with Memento. I punched them out with a 3/4" Circle Punch & adhered them with Dimensionals & the one on the bottom with a Glue Dot.

I attached the oval with Dimensionals and added a bow on top with a Glue Dot. I finished it off with a few Frosted & Clear Epoxy Droplets, which kind of look like mini crystal balls-spooky! And I have a special treat for you this week-with a $50 order, you get a package of these cool embellishments for FREE! But you need to order by midnight on Monday, September 24th! You can watch a video for this card on my Facebook group SU!P FRIENDS! Check back tomorrow for another fun idea for this awesome background stamp! Thanks so much for stopping by:)

Sunday, September 16, 2018

CAULDRON BUBBLE FAVOR:

Hello there! We had so much fun at the Cauldron Bubble Class yesterday, and this is the favor I made for each of the attendees:) They each got the Cauldron Bubble Bundle included in their class and I wanted to give them another idea of how to put this fun bundle to work:)

I filled a 2" x 8" Cellophane Bag with Peanuts & candy corn and tied it shut with a Black Glittered Organdy Ribbon Bow. I made the tag from a piece of Crushed Curry Cardstock and punched it with the Scalloped Tag Topper Punch.

I used one of the dies to cut out the fun star background. This die could be used all year...it would look really cool with a piece of Glimmer Paper behind it. Plus you get a bunch of tiny stars that you could glue to your project or they'd work great for a shaker card:) I stamped one of the sentiments from the stamp set with Memento Black ink and added a strip of Toil & Trouble DSP. One of the patterns has a page full of borders that you can cut down to whatever size you need. I cut out one of the cauldrons with a die & attached it with Dimensionals. I finished it off with a couple of Basic Black bats made with the Spooky Bats Punch. I attached the tag to the bow with a piece of Basic Black Solid Baker's Twine.

This was a really fun class to prep for & I wanted to give a shout out to Erica Cerwin for the adorable projects!

I'm looking forward to being able to spend more time creating projects in this next year. I only have 2 more weeks in the earning period for the cruise and then things will slow down and I can get back into a groove instead of running on fumes:)

I've got my Sip & Stack Class prepped and ready to go! This class is made with the Memories & More Santa's Workshop Card Pack and coordinating Cards & Envelopes. This class requires NO STAMPING, so you'll be able to quickly create a stack of cards while enjoying your favorite drink! I'll have a couple kinds of wine, a hot chocolate bar, coffee & yummy creamers, hot tea & water.

The class is $40 and includes everything you need to make 20 Christmas cards in two sizes. You'll get a color tutorial with step-by-step instructions and a package of Dimensionals for FREE!

You're going to make these 20 adorable cards and it couldn't be any simpler! You're going to pull pre-printed cards out of the box, add some twine and slap them onto card bases, that's all there is to it! There's no stamping at all and all the adhesives and embellishments are included! The card packs include 4 sheets of stickers, making it really quick & easy to create some adorable cards. You'll also get the coordinating Santa's Workshop Enamel Shapes for some extra fun!

As I mentioned, the Santa's Workshop Memories & More No Stamping Class is $40 and includes the following:
*Santa's Workshop Memories & More Card Pack
*Santa's Workshop Memories & More Cards & Envelopes
*Santa's Workshop Enamel Shapes
*Roll of Garden Green Baker's Twine
*Bottle of Liquid Tombow Glue
*Package of Dimensionals for FREE!
*Color step-by-step tutorial for you to print & bring to class for FREE!
*20 project kits prepped for you for FREE!

SU! can't keep up with the demand for these adorable Memeories & More Card Packs & have sold out of their first shipment. They won't get more until the end of October! I still have a couple spots left so let me know ASAP of you're interested! This class is also available To Go if you cannot attend the class on Saturday, September 29th from 11-1. I hope to hear from you soon! Thanks so much for stopping by:)

Sunday, September 9, 2018

DASHING ALONG CARD PACK:

Hello there! For the month of September you can earn a beautiful pack of this Dashing Along Designer Series Paper for FREE with a $250 workshop, catalog party or order. Plus I'm throwing in this BONUS pack of 5 cards for FREE!

In addition to the exclusive DSP, I'm giving you an Acetate Card Box with 5 beautiful cards featuring the DSP and the Dashing Deer Bundle. I have to be kind of honest, neither the paper nor the bundle did much for me on their own, but when you put the two together , you can come up with some amazing projects!

I attached this gorgeous tag to the Acetate Card Box with Glue Dots and you can easily remove it to add to a card base or add it to a present for someone special this Christmas. I especially love that this suite is perfect for masculine projects you may  be needing.

This is a perfect card for anyone-both male & female. It features the Frost White Shimmer Paint, a favorite product that SU! brought back! It's hard to see in the photo, but it's gorgeous in real life:)

I especially love how the Striped Burlap Trim coordinates with these products!

I love the elegance of this card and the how the rich colors work so well together. This suite was just made for the Gold Foil Sheets.

This card features the Real Red Mixed Satin Ribbon and Suite Season Specialty Washi Tape from the Holiday Catalog. You can get the 5-roll pack of washi tape for FREE when you order all 3 Product Shares! See below for more details.

This card is quite simple but still beautiful.

I love that you can use these deer images year round, not just limited to Christmas time.

This card features a sample of each of the 6 patterns you'll get in the Dashing Along DSP. You get 12 12" x 12" sheets, featuring these 6 designs. The colors are Cherry Cobbler, Garden Green & Whisper White.

I used a couple of brand new embellishments from the Holiday Catalog on this card-the All Is Bright Paper Clips and the Festive Farmhouse Elements. I simply used a Sponge Dauber in Cherry Cobbler ink to color the sentiment. I love the warm feeling of this card, it reminds me of a handmade patchwork quilt:)

This is the last of the 5 cards you'll get in the BONUS card pack. This one is really fancy with all the swirls and the gold foil. The papers coordinate perfectly with Cherry Cobbler & Garden Green Cardstock, but it goes equally well with neutrals like this Soft Suede base, as well as Crumb Cake & Sahara Sand as shown above.

I think my favorite thing about these products is their versatility. They look great dressed up and they also make some really great rustic projects as well.

I have 3 weeks from today to earn the Incentive Trip and I'm plugging along. I would love to be able to give you this pack of cards in addition to the beautiful Dashing Along DSP and Stampin' Rewards you'll earn with a $250 party, workshop or order. Please let me know if you'd be interested in getting a few friends together or would like some catalogs to pass out to friends & coworkers!

Today is the last day to sign up for the Cauldron Bubble Class! The cost is $60 and includes a 10% discount on the bundle. You'll get the Cauldron Bubble Clear-mount Stamp Set, Cauldron Framelits and a roll of the Black Glittered Organdy Ribbon. You'll get the 6 project kits and color step-by-step tutorial for FREE!

You'll get this roomy treat box which holds a lot of candy, or some other bigger treat.

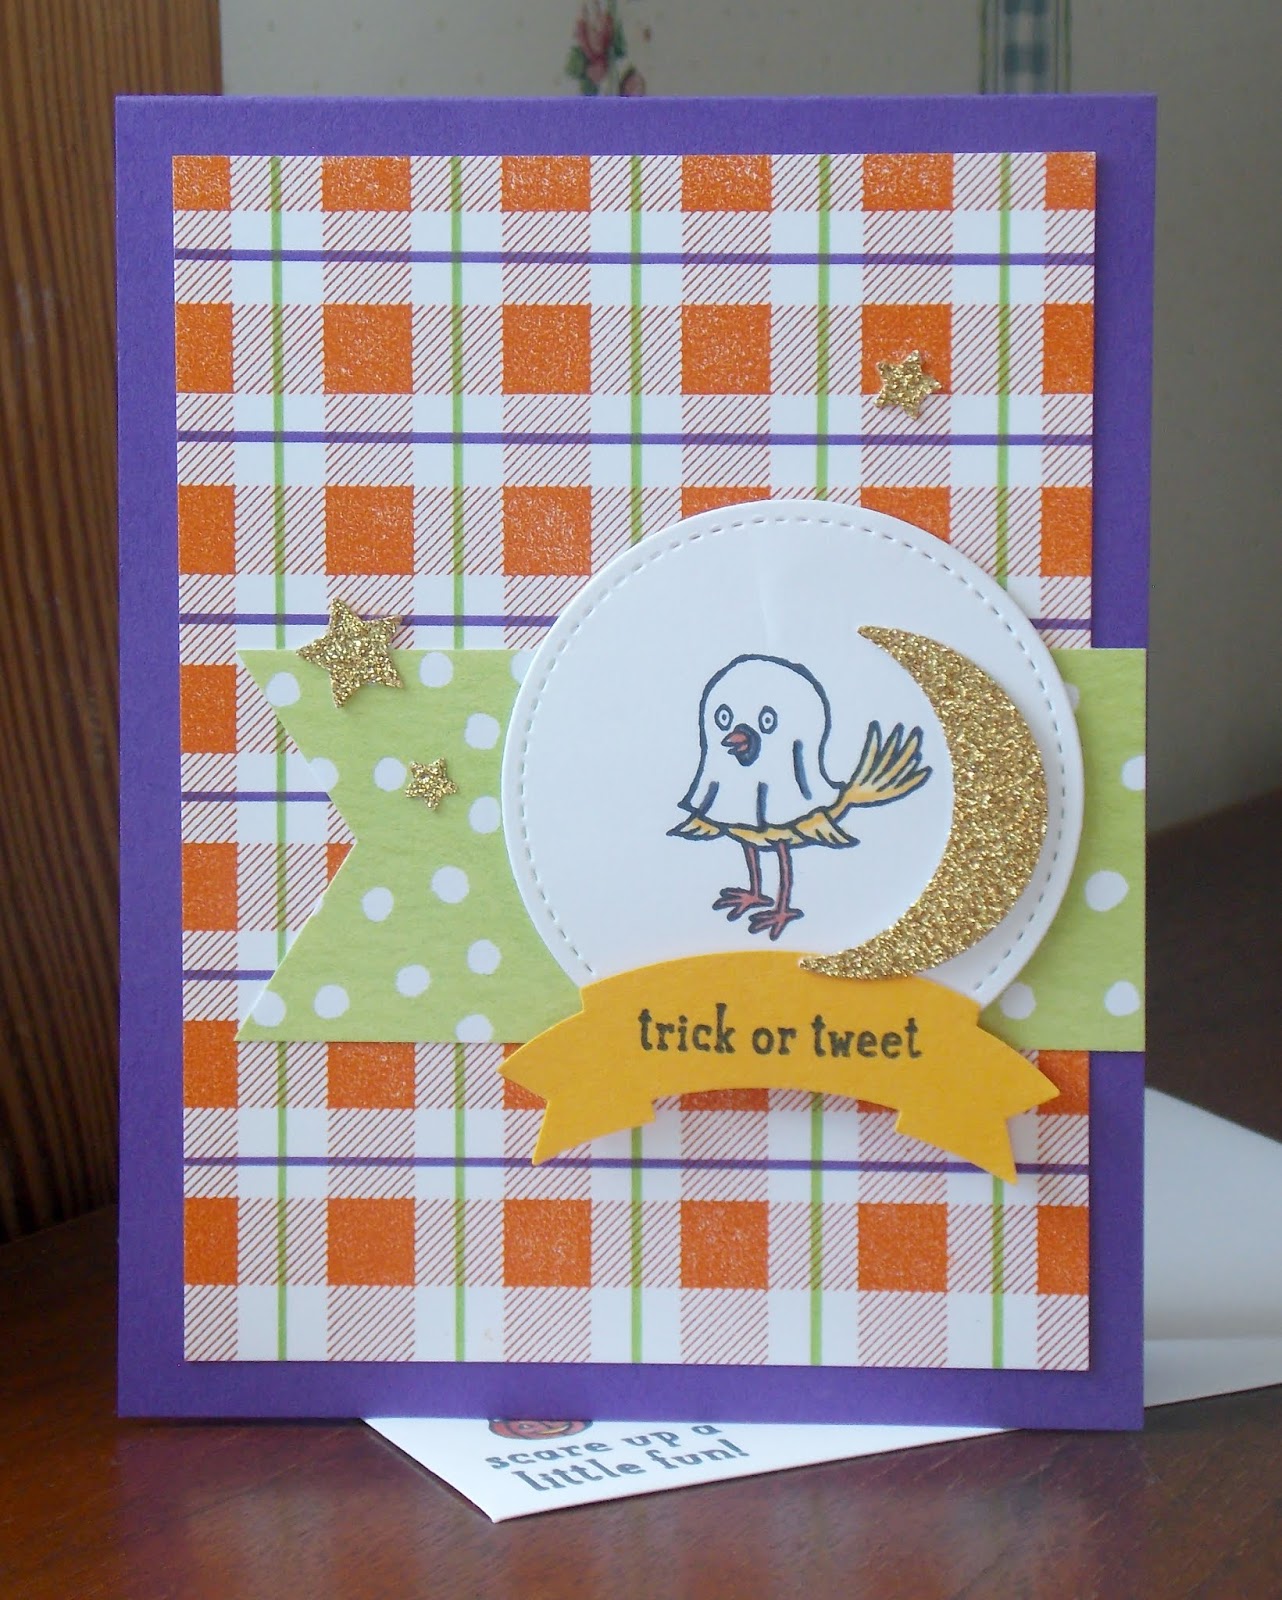
You'll make this fun little pouch and get to play with several products from the Toil & Trouble Suite.


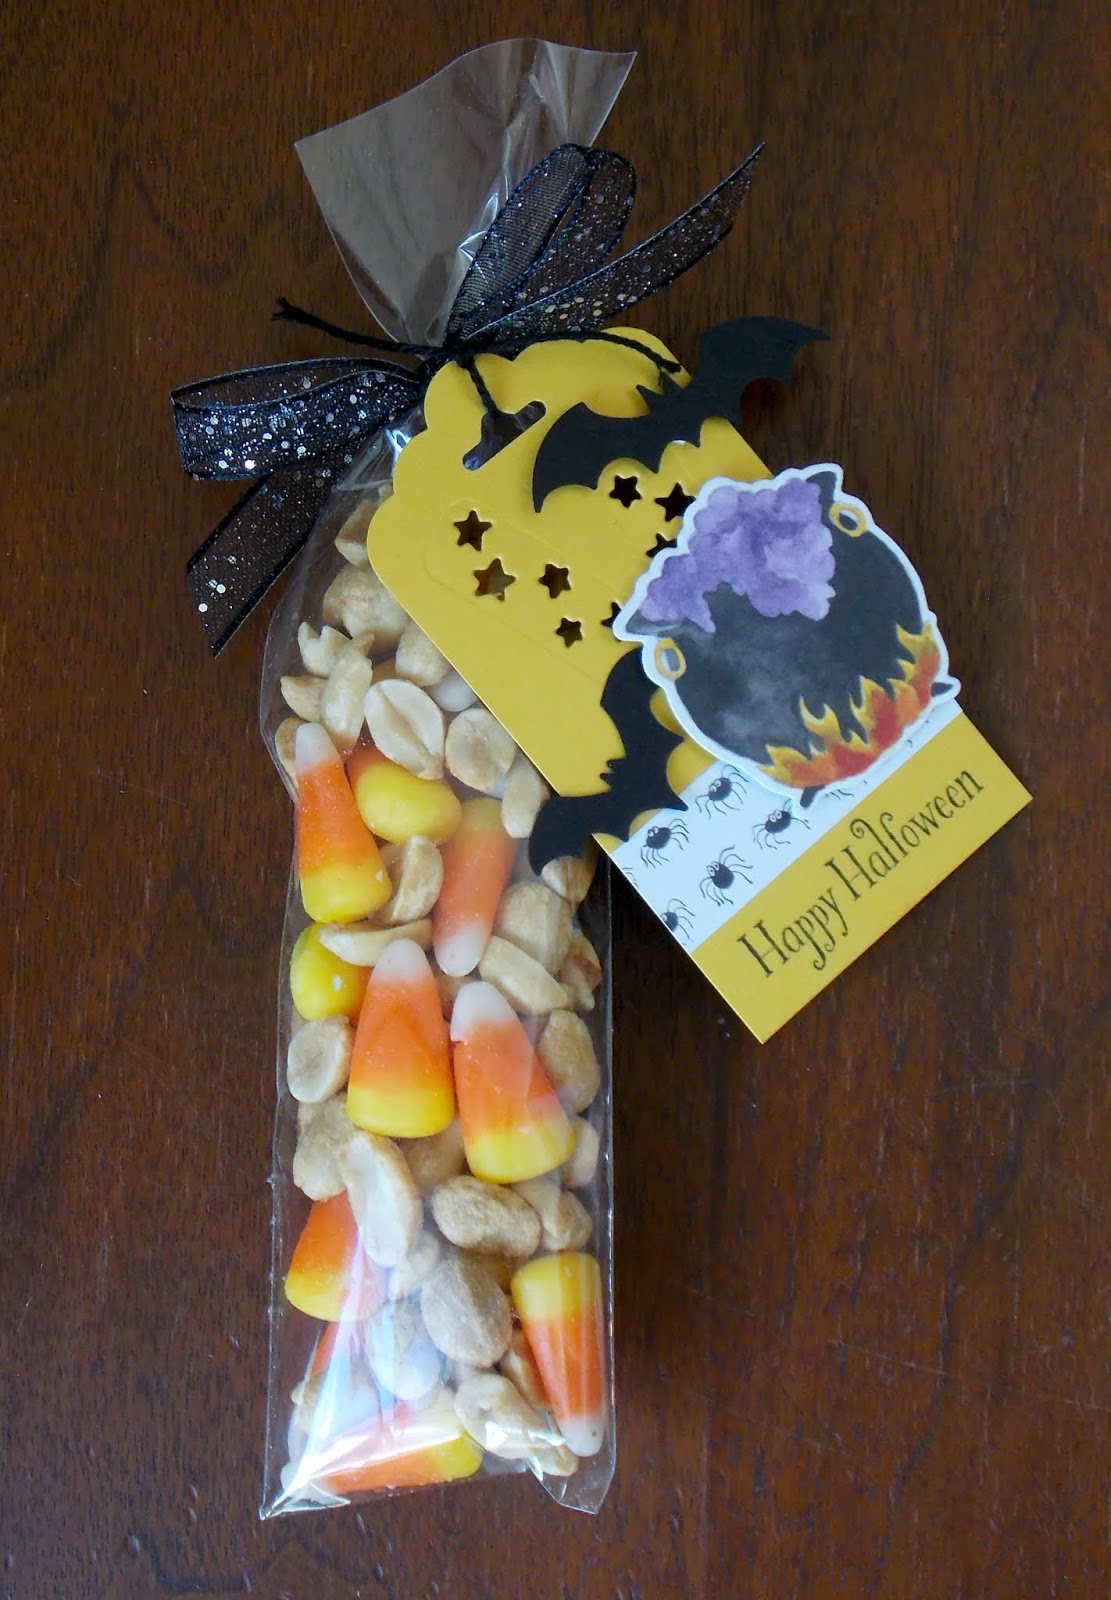
If you're needing to make a lot of quick & easy treats, this is the answer!

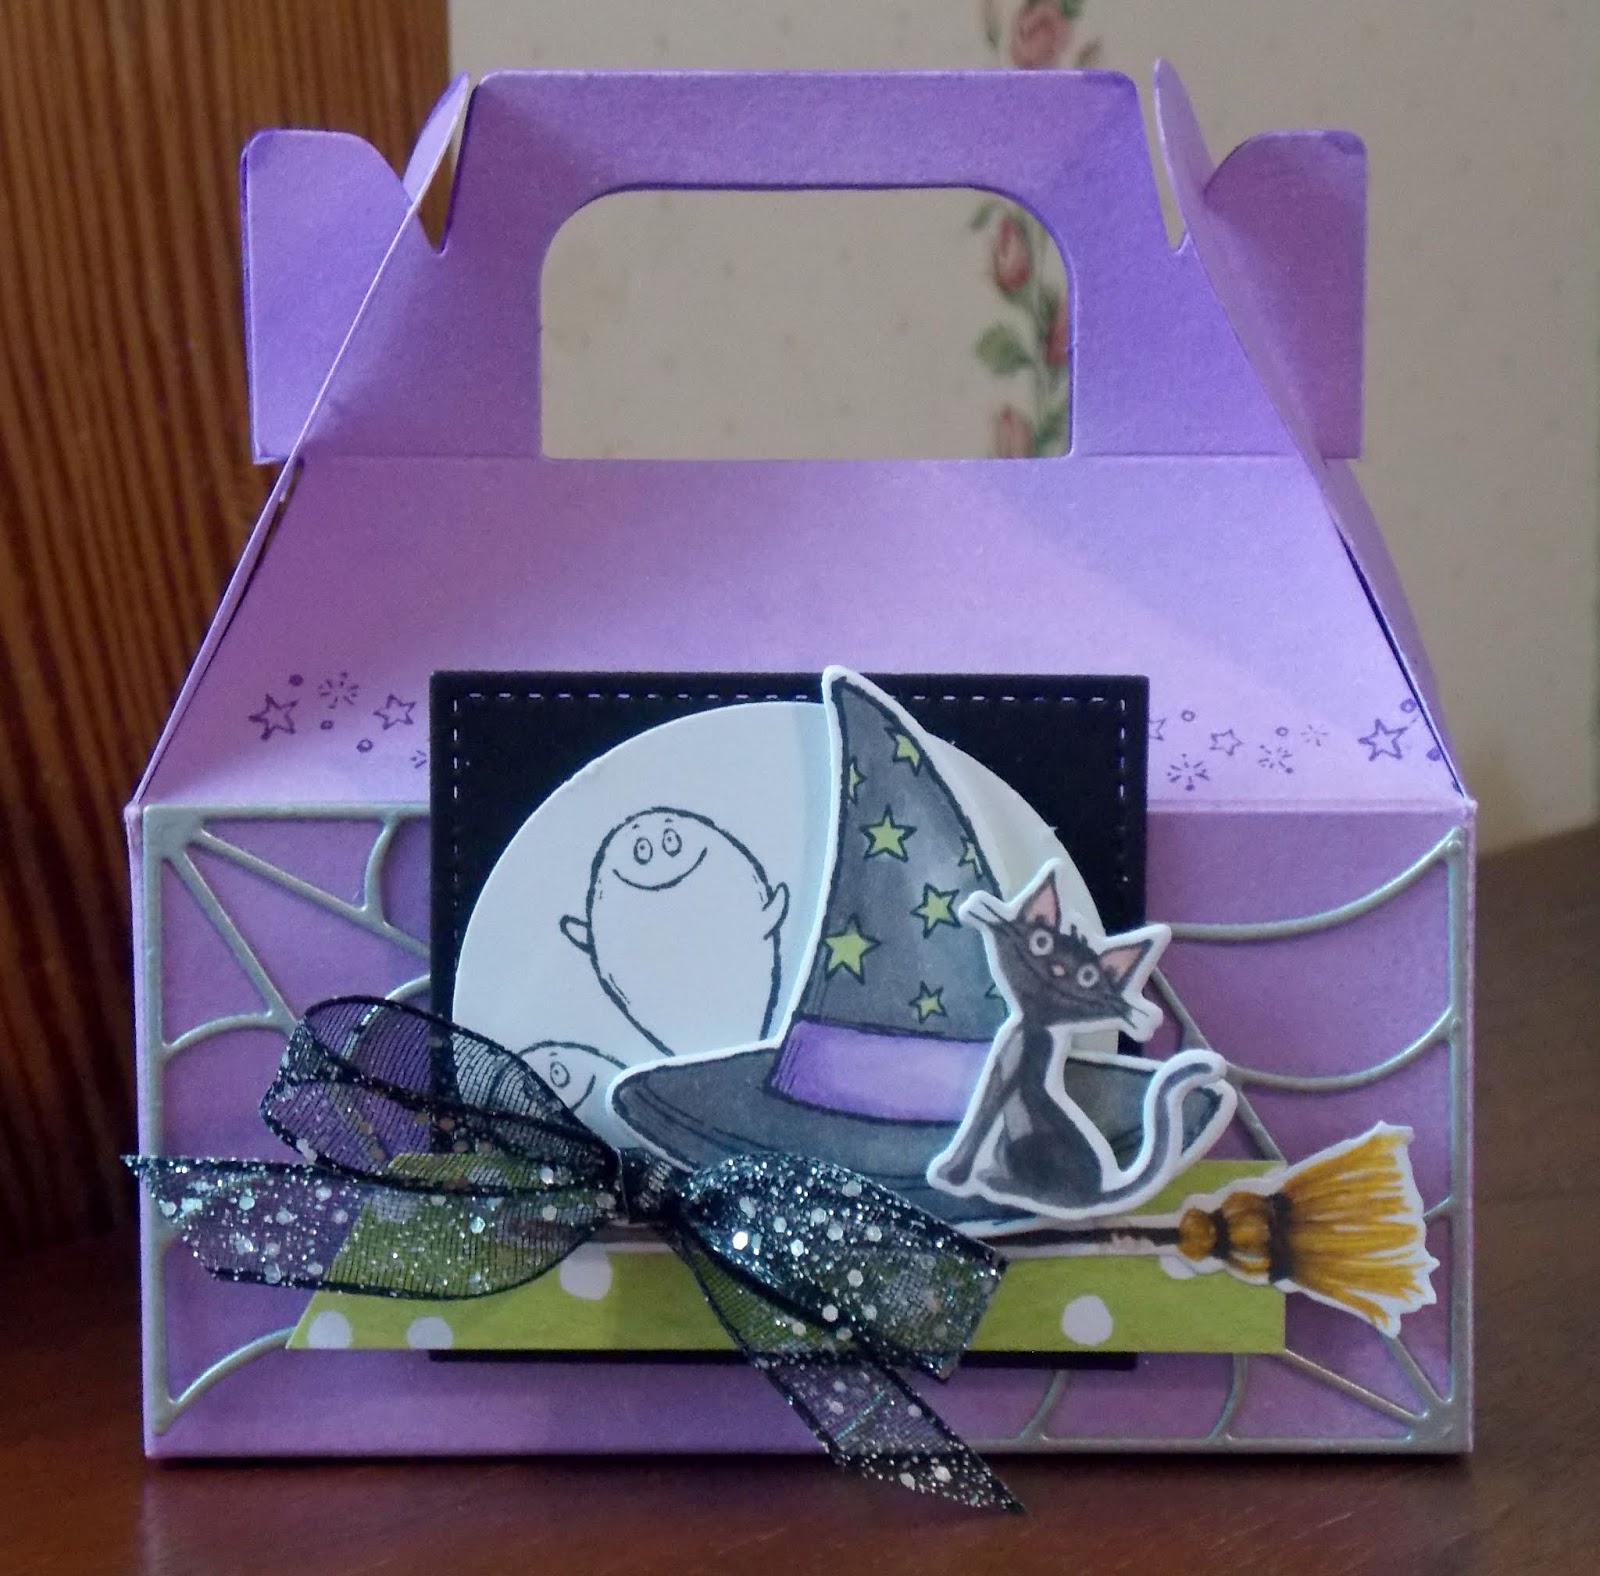
You'll get to make this adorable Mini Gable Box and play with some new Stampin' Blend colors as well:)

You will just adore this teeny takeout box made with the Takeout Thinlits. It's the perfect size for a small treat.

And finally, your class includes this adorable little tote bag. What's extra fun is that you'll get the measurements and have the instructions to make lots more for other occasions! This class is also available to go if you can't attend the live event on Saturday, September 15th. See more details on the September 6th post, including a few additional supplies you'll need if you can't attend the class.

I'm looking for a couple more who are interested in ordering the Product Shares. You can get all the DSP & specialty papers, ribbons & twines & embellishments from the Holiday Catalog for a fraction of the cost! You can get the DSP & Specialty Papers for $32. You'll get a big stack of 92 different papers!

The Ribbon & Twine Share is $7.50. You'll get 11 yards of the 11 different ribbon & twine for the Holiday Catalog.

You can get in on the Embellishment Share for $16.50. You'll get a sampling of 76 embellishments and see which are your favorites! Or you can do all 3 Product Shares and save 10% for only $50 PLUS I'll throw in a package of the Suite Season Washi Tape for FREE! It's an $8.50 value and it's gorgeous! See the September 1st post for more details.

I also have the Color of the Month Club going on. I'll be putting in the next order on the 15th of the month, so there's still time for you to get in on it!

It's a great way for you to get the entire new In Color Collection, a little at a time. For $45 each month, for 5 consecutive months, you'll get a pack of cardstock, 8 sheets of DSP, a roll of ribbon, 5 clips, a stamp pad, an ink refill, a jar of embossing powder and 1 of the markers.

You'll also get a fun project each month, featuring the 5 colors and you'll get a surprise embellishment for FREE!

At the end of 5 months you'll have all the In Color Clips, the Embossing Powders with the case & the 5 Markers with the case as well. You can see all the details on the June 9th post. Don't worry about the dates. You can start whenever and will continue for 5 consecutive months until your collection is complete.

I have several promotions and events going on hoping something will interest you. I have come so far this past year and I have a little more to go. As of now, I'm needing somewhere between $2500-$3000 in sales. I appreciate all of your support this past year in getting me closer to this goal of mine. Please let me know if you're interested in any of these promotions. Thanks so much for stopping by & love to you all:):):)