Friday, November 24, 2017

WELCOME TO MY STAMPIN' PAD:

Hello there! I'm so excited to share my new Little Stampin' Pad with you!!! We'll be breaking it in tomorrow with my Coffee Break Class:)

This is one card we'll be making-a CASE from Erica Cerwin.

And this is the other one.

I hope you'll join me tomorrow for this fun event!

My hubby & son have been busy getting the tables & chairs put together!

It's bare bones at the moment, but it will be a fun work-in-progress making it our new stampin' spot:)

I know it's last minute, but please let me know if you plan on attending tomorrow so I can have a little treat for you!

The address is 1513 market street-right across the street from out house:) I hope to see you tomorrow! Thanks so much for stopping by:)

Wednesday, November 22, 2017

DAISY DELIGHT CARD:

Hello there! I have a few projects to share with you from my TNT Tuesday Class last night. TNT stands for Tips & Tecnhiques, and I shared how to do the Stained Glass Technique 3 different ways. This card showed a faux version. I simply added DSP behind the cut-out image. I started with a Very Vanilla base. I then stamped the sentiment from Daisy Delight using Soft Suede ink. I stamped off the design in the background.

Next, I used the Butterflies Thinlits to cut out the butterfly from another piece of Very Vanilla, running the wing off the paper a bit. I then adhered a piece of Delightful Daisy DSP to the back with SNAIL. I attached this piece to the card base with Dimensionals. I then cut out a whole butterfly and adhered it in the negative space, putting Liquid Tombow only on the body of the butterfly, and slightly bent the wings up.

I folded a piece of Gold Mini Sequin Trim, tied a piece of Linen Thread around it and tied a bow. My brilliant card ladies discovered it was much easier to add the sequin trim to the butterfly with a Glue Dot, and then add the Linen Thread bow on top. I love how they always teach me something too!

I finished it off with a few sequins that I attached with tiny drops of Liquid Tombow.

This was the 'tweet' little favor I made for each of the attendees using a simplified version of the technique. I stamped the bird on a piece of Vellum Cardstock with Memento Black ink. You need to heat-set it or set it aside to dry for a bit so it doesn't smear.

Once dry, I turned it over and broke out the new Stampin' Blend Alcohol Markers. I used both light & dark shades of Pink Pirouette, Pool Party, Old Olive & Crumb Cake. I cut the image out with a 2" Circle Punch.

I then cut out a Whisper White circle using the 1 3/4" Circle Punch. I laid the vellum on top and punched a hole through both layers using the 1/8" Handheld Circle Punch. I used the Ticket Tear Border Punch on a 1" piece of Basic Black Cardstock and cut the strip in half. I then cut a 1" x 8" strip of Whole Lot of Lovely DSP and added the black strips to each side with Liquid Tombow.

I wrapped the belly band around a small slide-out Pool Party box, and adhered the ends together with Liquid Tombow, keeping the seam on top so the box laid flat. I ran a piece of Old Olive Baker's Twine around the box, through the hole and tied a bow.

I stamped the sentiment from Thoughtful Banners with Memento Black ink onto a strip of Pool Party Cardstock and attached with a Mini Dimensional.I finished it off with a pair of the gorgeous Gold Faceted Gems.

This card demonstrates the original, most realistic version of the Stained Glass Technique. It features the set Cheery Chirps from the Holiday Catalog and quite honestly, I skipped over it several times. When I decided to demonstrate the Stained Glass Technique, I knew this was the perfect set to showcase it. I started with a Crumb Cake base and stamped the background with VersaMark.

I used the VersaMark again to stamp the bird onto a Vellum Cardstock square. I ran the Embossing Buddy over the vellum first to remove static. I then dumped Silver Embossing Powder onto the bird on a piece of scrap paper. I dumped the excess back into the jar, tapping on the jar to remove every bit. The Embossing Buddy helps ensure the powder only sticks where it's supposed to.

I then flipped the vellum over and colored in the image using Fresh Fig, Lemon Lime Twist & Garden Green Markers. While the vellum was drying, I stamped the sentiment from Christmas Pines with Fresh Fig ink. I added a strip of Fresh Fig Cardstock underneath and tucked a piece of a silver Metallic Foil Doily underneath with Liquid Tombow.

I added a piece of Whisper White Cardstock behind the Vellum to make the colors stand out. I attached with Glue Dots behind the colored sections to conceal them. I then layered these on top of a square of Be Merry DSP with Dimensionals. I finished it off with a couple Glitter Enamel Dots.

We had a great time last night at TNT and we all learned something new! I hope you'll join us next month-it's always held on the 3rd Tuesday of the month. Make plans to attend Coffee Break on Saturday. We'll be breaking in my new Stampin' Pad! Stay tuned for the projects we'll be making. I hope you have a very blessed Thanksgiving with all those you love:) Thanks so much for stopping by!

Monday, November 20, 2017

TNT TUESDAY REMINDER:

Hello there! Sending out a reminder to all my local peeps about TNT Tuesday tomorrow night at First Christian Church from 6-8. We'll be making this lovely card using the Stained Glass Technique. We'll make another project using a variation on this same technique.

I also wanted to share this cute little guy. I made one for all the attendees at my Watercolor Christmas Class on Saturday. I used the 1" Circle Punch for his head using Crumb Cake ink. I used the Cookie Builder Punch for his eyes and beak. For his gobble thingy I punched the bow tie out using Cajun Craze Cardstock and trimmed it down a bit.

I wrapped a nugget with a strip of Bundle of Love Specialty DSP. I attached the body to the front with a couple of Dimensionas using a 1 3/4" Circle and trimming off the bottom. I attached the head to the body with a Dimensional.

For the feathers I used the Bow Builder Punch. I cut the bottom piece from Crumb Cake Cardstock, along with 2 bow pieces. I glued 3 different designs from Bundle of Love DSP to it with Liquid Tombow. I then punched out another from Cajun Craze, Crushed Curry & Soft Suede Cardstock. I used Mini Dimensionals between layers.

The sentiment is from Labels to Love, stamped in Soft Suede ink.

Let me know if you can make it tomorrow night for TNT so I can have a little surprise for you! Thanks so much for stopping by:)

Saturday, November 18, 2017

SAS FAVORS:

Hello there! I wanted to share the favors I made for my Stamp-A-Stack attendees a couple of weeks ago. I knew I wanted to use the gorgeous Striped Treat Bags, and I found some gold tableware to match:)

I wrapped a piece of Jute Twine around each bag and tied a bow. I made a monogrammed tag for each attendee and added a Gold Library Clip. I ran a piece of Linen Thread through the hole and tied it to the twine.

I used the Painted Harvest set to stamp the tags using Crushed Curry, Soft Suede & Crumb Cake inks. I ran a piece of Basics Pack 2 Washi Tape across the top of the tag and wrapped some Crushed Curry Solid Baker's Twine around each. I added a Touches of Nature Element and a few sequins from the Metallics Sequin Assortment.

I filled some tiny jars with peanuts and candy corn and decorated the lids with Coffee Break DSP. I stamped a flower, cut it out and attached it with Liquid Tombow. I stamped the sentiment with Soft Suede onto Very Vanilla and adhered with Dimensionals. I finished it off with a few Metallic Sequins.

I updated a few of the classes for Santa's Workshop coming up in December. Here's the tags you'll make-2 of each in the Gift Tags Class. You'll also get an Acetate Box to decorate to store your cute tags in.

These are the projects you'll make with the Gift Card & Treat Holders Class.


Here's all the fun projects you'll make with the Bags & Boxes Class.


You'll make a 6" x 8" Album with the Albums & Cards Class. See the previous post for all the details about my Santa's Workshop Retreat. I'm also including a FREE BONUS PROJECT for whoever signs up to do the SANTA'S WORKSHOP PACKAGE, which includes 45 projects! Email me for more details. Thanks so much for stopping by!

Friday, November 17, 2017

WILD ABOUT FLOWER CARD:

Hello there! Here's the last of the new additions at my last Card Bufet. Just about time to start designing for the next one:) Shelli had posted this awhile back on her blog and I loved it, so I made one to share at class. I started with a Sahara Sand base and added the background images with Timeless Textures using Sahara Sand ink as well. I added a couple layers of Very Vanilla and stamped the background with Sahara Sand and Calypso Coral.

I stamped the stem image with Soft Suede and the flowers with Calypso Coral. The sentiment is from Teeny Tiny Wishes. I stamped it in Calypso Coral onto Very Vanilla and used the Classic Label Punch to punch it out.

I added a strip of DSP from the Petal Garden DSP Stack and tore the ends to give it a little added texture. Such a sweet & simple but elegant card:)

Welp I'm off to finish up a few things for my Watercolor Christmas Class tomorrow:) Thanks so much for stopping by!

Thursday, November 16, 2017

SANTA'S WORKSHOP RETREAT!:

Hello again! One of Santa's little elves has been working away getting these fun projects ready to share with you:) Let me help you get ready for the Holiday hoopla by attending Santa's Little Workshop Retreat the first week-end in December! Notice that retreat contains the word TREAT, which I plan to spoil you with all week-end long! There will be 4 class projects that you can make over the 2 days:

1) MERRY LITTLE CHRISTMAS ALBUM & CARDS: Create a special keepsake to remember the best memories of this Holiday Season. All of the designing has been done for you! Just pop the Memories & More Cards into the pocket pages and add your photos! This class also includes 6 Christmas cards with envelopes.

Your class includes a 6" x 8" Album, Variety Pack of 6" x 8" Photo Pocket Pages and the Merry Little Christmas Memories & More Card Pack.

You'll get step by step instructions with pictures to help you assemble your album. All of the embellishments & trimmings will be included as well.

You may have noticed that the Merry Little Christmas Card Pack coordinates with the Carols of Christmas Bundle and the entire Merry Little Christmas Suite! You can be assured they will all work perfectly together for all your project needs!

The cost for the MERRY LITTLE CHRISTMAS ALBUM & CARDS CLASS is $50.

2) GIFT CARD & TREAT HOLDER CLASS: Add a personal touch to your gift card-giving this year! Make these 6 adorable holders that will hold a gift card or other small treats. They says 'It's what's on the inside that counts', but these 'outsides' are pretty special too:) Note: I'm waiting on a couple of items to finish the coffee gift card holder.

Your class includes 1 Gift Card Pouch, 1 Gift Card Holder with Envelope, 4 Pillowbox Stockings which hold a gift card and/or candy or small treat. You'll get step by step instructions with pictures where needed, to assemble your projects. All of the embellishments & trimmings will be included. The cost for the GIFT CARD & TREAT HOLDER CLASS is $30.

3) BAGS & BOXES CLASS: Make 6 beautiful bags and boxes to hold all of your special gifts this year. There's a wide variety of shapes and sizes to accommodate everything on your list!

Your class includes a Tiny Treat Box, Candy Holder, Mitten Nugget Holder, Christmas Tree Box(not pictured-waiting on a die), a Bag In A Box and a Large Bag(thanks to Julie Di Matteo for sharing!) You'll get step by step instructions with pictures to help assemble your bags & boxes. All of the embellishments & trimmings are included. The cost for the BAGS & BOXES CLASS is $30.

4) GIFT TAG CLASS: Decorate your packages with an assortment of super cute handmade gift tags! I'm sorry I don't have them all finished yet, but you will get 24 gift tags in all-2 of each design! You'll also get to play with the new Stampin' Blends:) You'll also get step by step instructions with pictures where needed. All of the embellishments & trimmings are included. The cost of the GIFT TAG CLASS is $30.

OR GET ALL OF THE CLASSES FOR A DISCOUNTED PRICE OF $125!!! Cover all of your Holiday needs and save $15! You'll make at least 43 handmade-from-the heart projects. "How will I ever accomplish that in a week-end?" you may be asking. Well with chocolate of course! And coffee & wine & lots of other treats:) I'll have chili and potato soup on the stove, along with a well-stocked hot chocolate bar, coffee & tea stations, wine in red & white, and lots of other yummy treats. We'll sing along to our favorite Christmas songs and be jolly little elves, working around the clock:) Santa's Workshop opens on Saturday, December 2nd at 10am and will stay open til 9pm. Sunday will be from 12-5. You can stay for the whole time or come & go as needed. If you're pressed for time, get all the stamping done there and assemble at home.

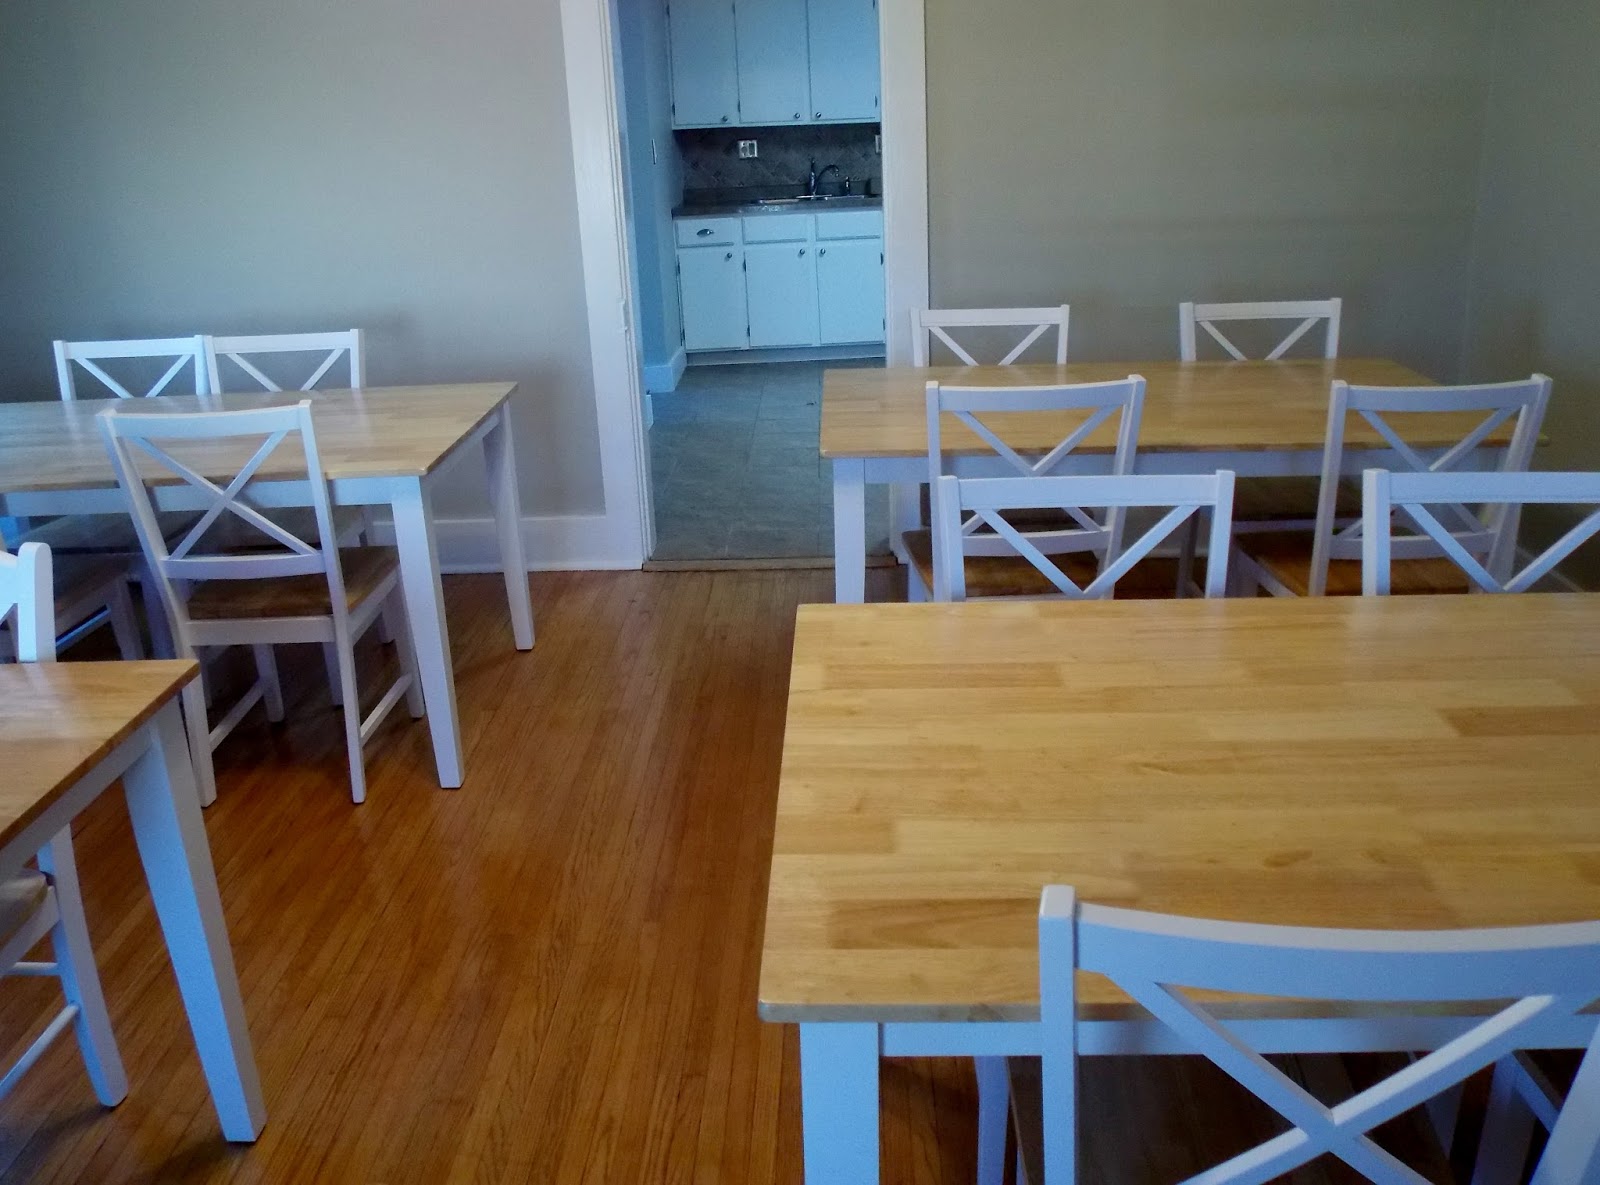
All of the tables just got delivered yesterday, so we'll be at my little Stampin' Pad-1513 Market, right across the street! I know this isn't a lot of notice but I need to have your RSVP AND PAYMENT by Sunday, November 19th to be able to get everything ordered and prepped.

As always there will be Door Prize drawings! I know $125 is a big investment this time of year, but I'll be helping you check a lot of things off of your Holiday To-Do list and you'll get some fun little surprises over the week-end as well...little treats JUST FOR YOU, so don't miss out! You'll also be leaving with 43 projects and instructions to make more in the future!

Please RSVP by SUNDAY, NOVEMBER 19TH and tell me which classes your'e interested in or tell me YOU WANT IT ALL! I hope to hear from you soon!