Tuesday, January 31, 2017

CARD BUFFET REMINDER:

Hello there! Just sending out a reminder to my local card ladies that Card Buffet is this Thursday! I had a couple requests last months, so I added a St. Patricks's Day card and a Pet Sympathy card.

I also added an alternate idea using the Sale-A-Bration Pocket Card Kit. You can get this kit for FREE with a $50 purchase:) I'll share more details about each card after the event.

In addition to these new cards, you can take your pick from these cards as well-18 in all!

It will be the last call for some of these designs. The Valentine's Day, snowmen and some older designs will be going away to make room for new designs. Make sure to start with these cards if you're wanting them. As always, please let me know if you're planning to attend so I can have a little treat for you. Thanks so much for stopping by:)

Sunday, January 15, 2017

SNOWMAN FAVOR:

Hello there! Popping in with a favor that I made for everyone who attended my Card Buffet a couple of weeks ago. I used the Snow Place/Snow Friends Bundle.

I stamped the snowman face onto a piece of Whisper White Cardstock using Basic Grey Archival ink. I wrapped 3 pieces of Whisper White Cardstock around 3 Hershey Nuggets and added a black button to the bottom 2. I stamped the hat and scarf with Real Red ink and cut them out with the Snow Friends Framelits. I attached them with Dimensionals and then placed them into a 2" x 8" Cellophane Bag and closed the bag with a Real Red Stitched Satin Ribbon bow.

I stamped the sentiment onto a piece of DSP from the Sealed with Love DSP Stack, using Basic Grey Archival ink. I punched a hole with the 1/8" Handheld Circle Punch and tied it around the bow using retired baker's twine.

I'm working on some cards for next month's Card Buffet so stop back soon. Thanks so much for coming by:)

Saturday, January 14, 2017

TASTY TRUCKS CARD:

Hello there! A little late getting this posted...sorry. My buddy Q hung out with me yesterday and I guess we were having too much fun & I forgot:) This is the last of the cards from my Card Buffet, and maybe my favorite. I used the Sale-A-Bration set Tasty Trucks, which you can get for FREE with a $50 purchase. I started with a Crushed Curry base and stamped the background taco image in Crushed Curry ink as well.

I stamped the truck on Shimmery White Cardstock using Black Memento ink and cut it out with the Layering Ovals Framelits. I colored the truck using Pacific Point, Pumpkin Pie, Daffodil Delight, Bermuda Bay, Melon Mambo, Basic Black & Basic Grey Watercolor Pencils. I then went over each color with a Blender Pen.

I stapled a piece of Melon Mambo Stitched Ribbon to the card base with the Handheld Stapler & Mini Staples. I stamped the sentiment with Black Memento ink onto a strip of Pumpkin Pie Cardstock and attached it with Dimensionals, overlapping the ribbon slightly.

I added a piece of Party Animal Washi Tape to the truck, trimming around the headlight, and added a Brights Enamel Shape to the rear. I then attached the oval with SNAIL, tucking it under the sentiment and running it off the edge slightly. Such a fun set and can be used for several occasions! That's the last of the cards for this month, but stop back tomorrow for a fun little treat that I had for everyone. Thanks so much for stopping by:)

Thursday, January 12, 2017

DOUBLE TAKE CARD:

Hello there! I had requests for thank you cards at my Card Buffet, and it just so happened there was the perfect one in our last demonstrator magazine using the set Double Take. I started with a Crumb Cake base and added a layer of Peekaboo Peach Cardstock at the top. I used the set Sunburst Sayings for the background, using Peekaboo Peach ink as well. I used Calypso Coral Cardstock and ink for the middle, and Bermuda Bay Cardstock and ink for the bottom.

I centered a Delicate White Doily over the Calypso piece and adhered it with SNAIL. I then wrapped a piece of Calypso Coral Thick Baker's Twine around the cardstock and tied a bow. I rolled Glue Dots into balls, attached them to the corners of each color and adhered to the card base, leaving a small space in between.

I used the Big Shot along with the Lots of Labels Framelits to cut out the label from Whisper White Cardstock. I stamped the top sentiment with Peekaboo Peach, cleaned the stamp and stamped it again with Calypso Coral ink. I cleaned it again and stamped a third time with Bermuda Bay ink. I attached the label with Dimensionals.

To finish it off, I added a few of the fun Sprinkles Embellishments using Liquid Tombow.  I've got one more card to share with you, so make sure to stop back tomorrow. Thanks so much for coming by:)

Wednesday, January 11, 2017

HEY, CHICK CARD:

Hello there! Back with another quickie from my Card Buffet last week. This card features the SAB set Hey, Chick-which you can get for FREE with a $50 purchase. I started with a Crumb Cake base and stamped a row of hens using VersaMark. I then stamped the other hen with Early Espresso ink onto a piece of Whisper White Cardstock.

I colored her in using Real Red, Calypso Coral & Early Espresso Watercolor Pencils. I then used a Blender Pen to go over each color to blend them and give them a watercolor feel. Normally you would want to use StazOn or Archival Black/Grey ink, as they won't bleed if they get wet, but I didn't mind having the Early Espresso ink blend with the pencils.

I stamped the sentiment with Early Espresso ink onto Crushed Curry Cardstock and attached with Dimensionals. I added a piece of Affectionately Yours Washi Tape at the top and overlapped it with a piece of Tasty Treats Washi Tape. I finished it off by tying a piece of Linen Thread around the top and tying a bow.

Another awesome Sale-A-Bration choice, which can be yours for FREE! Stop back tomorrow for a bright & cheery thank you card...and speaking of thank you...thank you for stopping by today:)

Tuesday, January 10, 2017

CONFETTI CELEBRATION CARD:

Hello there! Here's another quick & easy card I had available to make at my Card Buffet. I used the set Confetti Celebration and started with a Pool Party base. I saw the idea for this on the demonstrator website awhile back and thought it would be fun to try. I made a stencil for the background using the Sprinkles Punch. I cut a piece of scrap cardstock to the size of a card front and went around the edges with the punch til I got a uniform design.

I put a few drops of Pool Party Reinker into the lid of the Pool Party Stamp Pad and used a Sponge Dauber to grab some of the ink. I blended the dauber on the ink lid to get even coverage, and used the stencil I made to get the background design. Next I colored the sentiment with Dapper Denim, Real Red & Cucumber Crush Markers onto Whisper White Cardstock. I used the Layering Circles Framelits to cut it out. I colored the 'to' banner a second time on a scrap, cut it out with my Paper Snips and adhered to the circle with a Dimensional piece.

I added a Daffodil Delight banner to the card base and attached the circle over the top with Dimensionals. I tied a bow using Cucumber Crush Thick Baker's Twine and attached it with a Glue Dot.

Super quick & easy which works perfectly for a Card Buffet:) I still have a few cards left to share so make sure to stop back tomorrow. Thanks so much for coming by:)

Monday, January 9, 2017

SEALED WITH LOVE CARD:

Hello there! I have 1 more Valentine card to share with you from my Card Buffet. I used the Sealed with Love/Love Notes Bundle found in the Occasions Catalog, and saved 10% on the bundle:) I started with a Real Red base and ran it through the Big Shot using the new Falling Petals Embossing Folder. I added a strip of DSP from the Sending Love DSP Stack, and layered a piece of Pool Party Cardstock on top.

I used the Layering Circles Thinlits to cut out the scalloped circle and the Stitched Shapes Thinlits to cut out the circle from the Glassine Paper. I adhered it to the scalloped circle with a couple of Glue Dots in the center. I cut out the arrow from Silver Glimmer Paper, cut it in half, and attached the ends with Glue Dots. I then added the circles on top with Dimensionals, clearing the Pool Party. I used the dies to cut out the adorable little envelope and attached it to the center with a Dimensional.

I stamped the sentiment with Real Red ink and used one of the dies to cut out the little love note from Whisper White Cardstock. It slides out and you can stamp or write a sweet little message to your valentine. I attached one of the new Mini Paper Clips and tied a piece of retired baker's twine around it.

I think the only thing left to cover about the Card Buffet is pricing. I charge $3 per card or 12 for $30. For every $25 order, you get one of your cards for FREE. I had several who placed SAB orders, so they'll be getting their FREE SAB product, plus they got 2 free cards. I also give my downline a free card when they attend as well. I think that covers everything I can think of. Feel free to shoot me an email with any questions you may have. Make sure to stop back tomorrow, as I still have lots to share. Thanks so much for stopping by!

Sunday, January 8, 2017

JUST KEEP SWIMMING CARD:

Hello there! When I saw the Just Keep Swimming set in the new Occasions Catalog, I just knew it would make a cute Valentine's Day card. I started with a Blushing Bride base, which is the perfect color for this fun & flirty card don't you think? I then ran it through the Big Shot using the Large Polka Dot Embossing Folder.

Next I ran a piece of Chocolate Chip Cardstock through using the Cutie Pie Thinlits to cut the scallop. I rounded all the corners and ran a piece of Early Espresso Baker's Twine around the Chocolate Chip piece. I probably should have just used Early Espresso Cardstock, but I just have a feeling that our Chocolate Chip isn't going to be hanging around for a lot longer, so I'm trying to use it more:( I rolled 4 Glue Dots, stuck them on the back, clearing the baker's twine and attached the scalloped piece to the base.

I stamped the sentiment in Early Espresso and the hearts in Blushing Bride onto Very Vanilla Cardstock and used the Decorative Label to punch it out. For the macaron, I stamped the filling image with Blushing Bride onto Very Vanilla Cardstock. I then stamped over it with the cookie image using Crumb Cake ink. I stamped over the cookie image with the crust image using Tip Top Taupe ink, and cut it out using my Paper Snips. I attached it to the label with a Dimensional, and attached the label to the base with Dimensionals as well. I finished it off with a few sequins from the Blushing Bride Sequin Trim using the Fine-Tip Glue Pen.

This was a super quick & easy one to put together, which is helpful to have for a Card Buffet. Several have expressed interest in how a Card Buffet works, so I've been sharing what I've been doing at mine. As I mentioned previously, I put all the supplies needed for a particular card into a tote. I also put the embossing folder, dies, ribbon & ink refill in that tote as well, telling them that they won't necessarily need to use them. I include the extra supplies in case I need to make more kits. I start out with a dozen kits for each card, but wanted to have the supplies on hand in case I need to make more. When I'm designing the cards, I pull a few extra sheets of cardstock, DSP or whatever papers I'm using as well, and bring with me in case I need to cut more. I'll have another Valentine's Day idea for you tomorrow, so make sure to stop back. Thanks so much for coming by!

Saturday, January 7, 2017

LIFT ME UP CARD:

Hello there! Here's another one of the cards we made at my Card Buffet using some brand new products. I used the stamp set Lift Me Up and coordinating Up & Away Thinlits, found in the Occasions Catalog. As always, when you bundle them together, you save 10%! I started with a piece of Mint Macaron Cardstock and stamped the clouds in the same. I then stamped additional clouds on Whisper White Cardstock and used the thinlits to cut them out. I attached them with SNAIL and added some sweet little Watermelon Wonder hearts punched with the Cookie Builder Punch.

I stamped the hot air balloons with Watermelon Wonder onto Peekaboo Peach Cardstock and used the thinlits to cut them out as well. I adhered them with Dimensionals. I made the fun pocket card using the coordinating Carried Away DSP. This is one of the Sale-A-Bration choices that you can get for FREE with a $50 purchase. So you could purchase the wood-mount bundle and get the DSP for FREE, or get the clear-mount set and add something for $4.25 to get you to $50. I cut the envelope at an angle and tied a piece of Night of Navy Baker's Twine around it.

I stamped the sentiment with Watermelon Wonder onto a strip of Crumb Cake Cardstock and attached with Dimensionals. I thought this would make a good masculine Valentine's Day card, or there are plenty of other sentiments for other occasions.

Since the structure of a Card Buffet is different from a class, I can't give everyone directions for each card, as they're all working on something different, so I type up step-by-step directions and attach them to the lid of the tote. I try to keep the majority of the designs fairly simple, but there are some that require the directions. As I'm designing the card, I jot down the steps as I go so it makes it quick & easy to type the instructions up later.

I got the inspiration for this card from our demonstrator magazine and just changed a few things up. If you didn't get to make this card don't worry, it will be coming back next month on Thursday, February 2nd. Hope to see you there! Make sure to stop back again tomorrow for another Valentine's Day card. Thanks so much for stopping by!

Friday, January 6, 2017

SHELTERING TREE SNOWMAN:

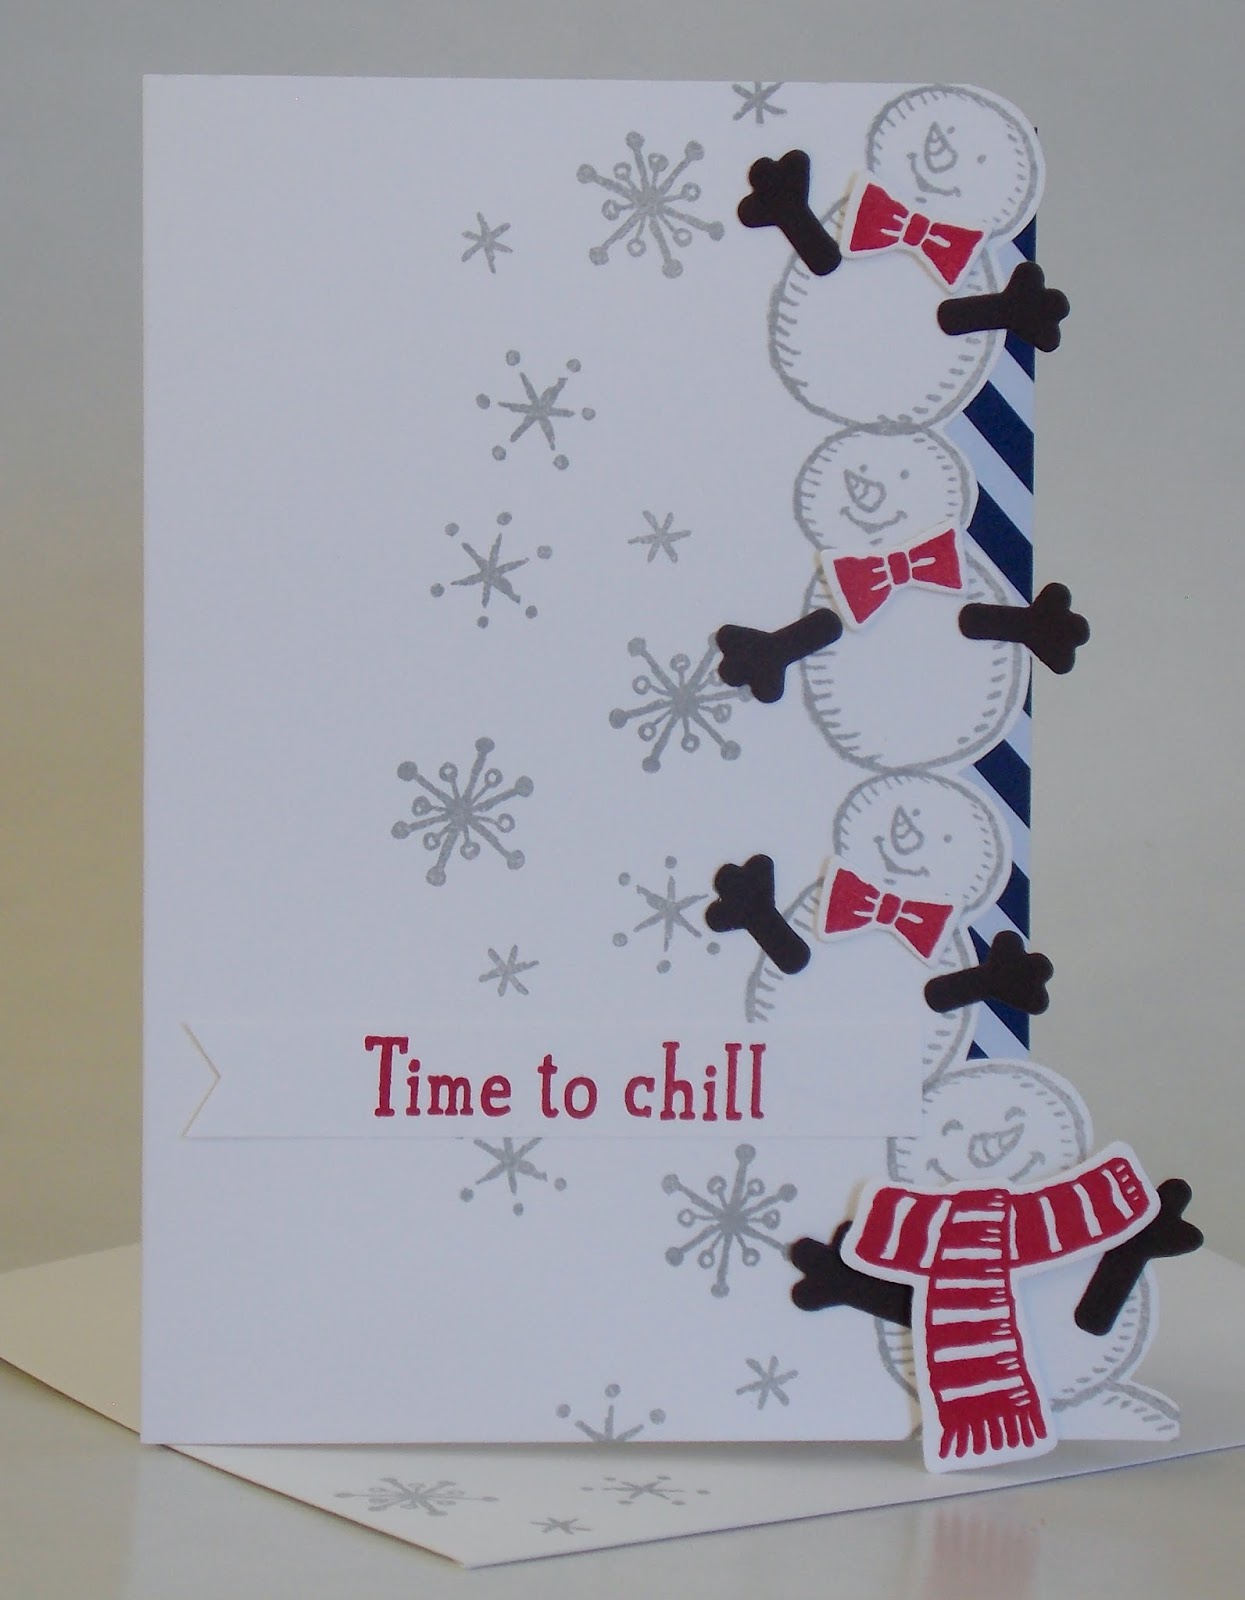
Hello there! Back today with another card from my Card Buffet last night. I asked the group if they had any requests for next month's cards and they wanted snowmen, so I came up with another design. I started with a Crumb Cake base and added a piece of By the Shore DSP. On top of that I added a layer of Dapper Denim Cardstock that I ran through the Big Shot using the Softly Falling Embossing Folder.

As I'm preparing for my Card Buffet, I place all the supplies I used for the card in a plastic tote that I got from Dollar General. Once I'm happy with the design, I cut the cardstock, DSP, ribbon, etc. and put the supplies in an envelope. I usually make 12 of each design, including the sample. I then use 1 of our Gold Binder Clips to bundle that card design together, along with the corresponding # on the tote:

I place this tote holding the kits, next to the 15 totes containing the samples & supplies needed to make the card:

So a guest decides she wants to make card # 8. She grabs that tote and then grabs one of the kits from the #8 bundle. She takes them to her spot at the table and makes however many of that card that she wants. When she's finished, she puts all the supplies back into the tote, along with the sample, returns the tote to the "buffet table" and repeats the process with another card.

Once I have everything cut and all the kits made, if I have time I'll go back and cut out and emboss what I can. I went ahead and did the embossing on this card and cut out the snowmen heads and noses. I like to do anything ahead of time that will save them time and free up the Big Shot as much as possible. That way they get more time to make more cards:) For this sweet little snowman I used Watercolor Paper and the Stitched Shaped Framelits. I got a perfect nose using the brand new Basket Builder Framelits in the new Occasions Catalog! I used Pumpkin Pie Cardstock and the retired Candy Dots for eyes.

I used a Sponge Dauber and the Pink Pirouette Stamp Pad to give him some rosy cheeks. For the scarf I used the retired Warmth & Cheer DSP Stack. I don't usually use retired products at my events, but that DSP worked perfectly and I had a bunch to use up. I used the 1/2" Circle Punch to round the corners by sticking the DSP corner into the slit in the punch. Who knew the Bow Builder Punch would work so perfectly to make the tails of the scarf? I folded the tab over the scarf and attached the tails with Glue Dots.

I used the sentiment from Sheltering Tree, stamping it with Whisper White Craft ink. I heat-embossed it with White Embossing Powder and the Heat Tool. I finished it off with a little red heart from the Brights Enamel Shapes. Make sure to stop back again tomorrow for another project and a few more tips on my Card Buffet. Thanks so much for stopping by!

Thursday, January 5, 2017

SNOW PLACE CARD:

Hello there! Just got home from my second Card Buffet and it was a hit! The great group I have grew even more tonight:) If you're not familiar with how a Card Buffet works, I'll fill you in, but first I want to give credit where due for this adorable card we made tonight. This was 1 of the 15 choices they were able to pick from. I found it on Pinterest, made by Cynthia van der Wilk. You can see her original here:  www.magicalscrapworld.blogspot.nl. I changed a few things up to simplify it a bit, but loved her creation:)

I started with a Whisper White base using the Snow Place stamp set. I stamped the snowmen & snowflakes with Smoky Slate ink. I stamped the snowmen about an inch from the edge, stamping them at an angle to get them all to fit. I then used my Paper Snips to cut around them to expose the fun striped DSP behind them. I'm not sure how Cynthia cut them out, as her blog is in German I think?

I cut the arms out of Early Espresso Cardstock using the coordinating Snow Friends Thinlits and adhered them with Liquid Tombow.  I stamped the scarf and bow ties with Real Red ink and used the thinlits to cut them out as well. I attached the bow ties with Glue Dots, and the scarf with Dimensionals. I stamped the sentiment with Real Red ink onto a strip of Whisper White Cardstock and adhered with SNAIL.

I added a strip of DSP from the Regals DSP Stack to the inside of the card along the edge. Thank you Cynthia for sharing your adorable card!

As I mentioned earlier, they had 15 cards to choose from. Here's the cards that were available, and they'll all be coming back next month so the gals can make the ones they didn't get time to make tonight.

If you're not familiar with how a Card Buffet works, here's the details: Just like a traditional buffet, my guests get to pick what looks good to them and decide on the quantity as well. The mix is up to them-which is why it's called a Card Buffet! I have flexible hours-anytime between 4-8pm, so they can come when it's convenient for them:)

Make sure to stop back tomorrow, as I'll have another card to share and I'll go into more detail about the Card Buffet process. Thanks so much for stopping by!