Tuesday, July 30, 2013

YIPPEE-SKIPPEE CARD:

Hello there! I want to apologize for the gap in posting, but it couldn't be helped. I had Hurricane Q for 2 days. I figured I'd get something posted on Thursday after he went to bed, but he never gave it up. He was going strong til 10:30 when his mom picked him up and by then, I was spent. So I had big plans for Friday. Rickels was going to be home by 5, so I could get some cards knocked out-WRONG! I ended up in the ER with a fractured foot:( More on that in a bit...

Back to the card...When we were at Convention last week or the week before?-it's a blur, they handed out the super fun set Yippee-Skippee! to everyone in attendance. 5500 people-Yippee Skippee is right! Of course I already had this set, but that's okay, I'll give it away as a door prize at one of my upcoming Card Nights. I started with a Baked Brown Sugar base and ran it throught the Big Shot with the Perfect Polka Dots Embossing Folder on one side. I colored the 'happy' with a Baked Brown Sugar Marker and stamped it along the edge of the card. Next, I added some BBS Ruffle Trim Ribbon to a piece of Birthday Basics DSP. I used the Dotted Scallop Ribbon Border Punch to punch out the Pool Party border and stuck it under the ribbon with Liquid Tombow glue.
I made a tag with the new Chalk Talk Framelits in Very Vanilla. I stamped the cake stand in Night of Navy and inked up the sentiment with Calypso Coral and Night of Navy Markers. I ran a piece of Night of Navy Stitched Ribbon through the tag and stamped the cake in Pool Party on Pool Party Cardstock. I put a Glue Dot behind the knot in the ribbon to keep it in place and attached the tag with Dimensionals. I tied a Calypso Coral Baker's Twine bow around the top cake layer and attached them with Glue Dots. I finished it off with a sweet little flower punched out with the Itty Bitty Shapes Punch Pack and added a Rhinestone to the center.
 
This was a pretty quick and easy card to make and could easily be changed up for a guy by using a more masculine embossing folder like Striped or Chevron, trade out the ribbon and border for strips of cardstock or the stitched ribbon. Trade the flower for a button and lose the bow. You could use the Cupcake Builder Punch and add a few candles to the top-maybe I'll do just that! Check back tomorrow and we'll see how it worked. Now, back to my foot...
 
Friday afternoon I was trying to get Quinten to take a nap by reading to him on our bed upstairs. He was only interested in jumping on the bed, so after a few close calls of him flying off the bed, I decided it was time to go downstairs and try to confine him to a couple of rooms down there. He was not happy and fighting me as we were going down the steps. I thought I was at he landing but missed a step, so we went down and bounced off a couple of walls I think and finally landed back on the steps. My ankle and ribs took the brunt of it.

 I'm sorry about the horrible hairiness of my toes-if only it would grow like that on my head! I'm starting to bruise pretty good and am still pretty swollen.

Check out the nice Petunia Pig foot! Pretty! Needless to say, I'm going to be fat for the wedding. No Y for me for awhile. I was thinking I could maybe do some upper body stuff, but my ribs are hurting lots-it's painful just to breathe:( One good thing though...I think I'm off babysitting duty for a couple of weeks! By then maybe I'll be ready to chase him around again! I'm going to try to get several cards posted for you tomorrow, so make sure you check back! Thanks so much for stopping by!

Wednesday, July 24, 2013

CONVENTION MAKE & TAKES:

Hello there! It's good to be back home after an overwhelming week in Salt Lake City. It took me a couple of days to get caught up, but I was excited to share a little bit of Convention 2013 with you. I didn't really get any photos-it was always a flash mob around the display boards, but I wanted to share the Make & Takes with you. This year we didn't have the pressure of trying to get these projects completed in a ridiculously unrealistic time frame. We were able to relax and actually enjoy the process.

We were given the sets Hello Lovely, Gorgeous Grunge and Tag It in our Convention backpacks and these were the sets we used for the Make & Takes. The projects all coordinate by using the same color scheme: Bermuda Bay, Coastal Cabana, Crisp Cantaloupe, Old Olive and Summer Starfruit. I love the beachy, boardwalk feel of these projects-they just scream summer to me.

My great friend Jamie and I sat with a fun table and we did alot of talking and laughing. Which meant my projects looked like crap, because I couldn't concentrate on what I was supposed to be doing. I knew I made lots of mistakes, but didn't realize just how awful they were til I went to take some photos of them. So, being the anal nut that I am, I had to redo them. But it was a nice, relaxing, fun way to spend the day. I should have been doing laundry or the dishes, but, eh...

This was a really fun project to make using the Tag a Bag Gift Boxes and Accessory Kit. To be honest, I didn't pay much attention to them in the catalog, but this was so quick and easy to put together and so much fun!

I'm not sure how I feel about the feathers, but it was cool to learn how to make them. We punched each of the papers out with a circle punch. Then you put the circle back in the punch and punch out the feather shape. Next, you fold the feather shape in half and cut knotches on one side. You just open it up and fluff, and you've got a feather!

We also got to play with the Tag A Bag Gift Bags. They just didn't look like they'd be so much fun-but they were! I'm definitely going to be using lots of these bags and boxes for the holidays!

We used the Note Cards and Envelopes for these coordinating cards and tucked them inside the Tag A Bag. Such a sweet and simple gift!

And check out this adorable bag that we altered to make it a gusseted bag which could hold all kinds of goodies...

Is that not the cutest thing eva? So perfect for a kid's birthday party favor! And the tag is made using the Ronald McDonald House Charities stamp set Tag It. $3 is donated from every sale of this set.

These projects show the new In Colors at their finest! Try them out if you haven't already!

This was a super quick and easy project that we made in a Mini Class. Perfect for your Thanksgiving table or to pass out to some special people in your life. Of course you'd have to let them know just how special they are with chocolate:)

Even though this years Convention was extra crazy-almost 6000 people!-we did get lots and lots of goodies! Everyone won the Prize Patrol, but they saved the best for last. The final group that was called got every single stamp set in the Holiday Catalog! Crazy good! I'll be back tomorrow with another card made with one of my brand new sets. Thanks so much for stopping by!

Saturday, July 13, 2013

2013 ARTISAN ENTRY #10:GINGHAM GARDEN BOXES:

Hello there! You should have just arrived from Lauri's blog and her amazing project. This is the last day of our 10 day tour. I hope you've been inspired by all of the amazing creations along the way. I know I have! 

I'm excited to share my final project with you. This had been in the works in my head for months before I started it. Every morning as I soaked in the tub, I was strategically visualizing every detail. As with my last project, this turned out pretty much just as I'd hoped it would.

I won't go into a lot of detail, because we'd be here all day. But I'll try to cover the basics. I started out with a set of nesting paper maiche boxes and covered them with Gingham Garden DSP. They were already cute with the paper alone, so I knew they could only get better. I used 8 of the 12 different patterns-I truly love how our products coordinate so perfectly-it makes it so easy. The rim on the top box was a little tricky. I wanted to used the yellow gingham washi tape, but too much of the brown was showing through. I tried to paint it white, but it was too puckery. So I finally bought a second box since I had mangled the first one, and I ran some of the yellow dsp around it and then covered it with the washi tape-success at last!

My sweet hubby took these pictures and he was on his own for the placement of the boxes. He somehow managed to get that #@*! ugly seam in every picture-lol! The bow was supposed to be way over to the left so the sean wouldn't be visible. I put sticky notes on the botton of my boxes for whoever opened them as a guide. I used the Tasteful Trim Die for the grass on the top and bottom box. The middle box was just cut with my SNIPS. I used the Scallop Envelope Die for the tulips and used the 1" Circle Punch to cut them out, I think? I used the Small Heart Punch for the leaves and scored and faux stitched them down the center. I strung a bunch of buttons on Island Indigo Baker's Twine and attached them to the top rim with Glue Dots. Okay, I said I wasn't going to bore you with details, but here I go:) For the picket fence, I used the Designer Rosette Die, cut it on the score lines and attached Dimensionals underneath. It would have been much easier to put the grass on before the fence, but I didn't think of it til after the fence was already on-not fun!

For the sign, I used the set Really Good Greetings and the following markers: Melon Mambo, Daffodil Delight, Lucky Limeade, Island Indigo and Night of Navy. I wrapped some more of the Daffodil Washi Tape around Daffodil Cardstock for the frame.

Again, notice the nice seam-lol. I used the set Up, Up and Away for all the fun balloons. I used various punches for the houses-1 3/8" Square, Extra Large Tag, Ticket Duo, Cupcake and Owl Builder Punches, and the Itty Bitty Shaper Punch Pack. I used the Chevron, Argyle, Perfect Polka Dots, Stripes, Houndstooth and Square Lattice Embossing Folders for the roof texture. I used Pear Pizzazz for the greenery and Soft Suede Cardstock for the tree trunks.


I don't know if you can see it very well, but I finished off the seams of ths DSP around the lids with Island Indigo Baker's Twine for a finished look.

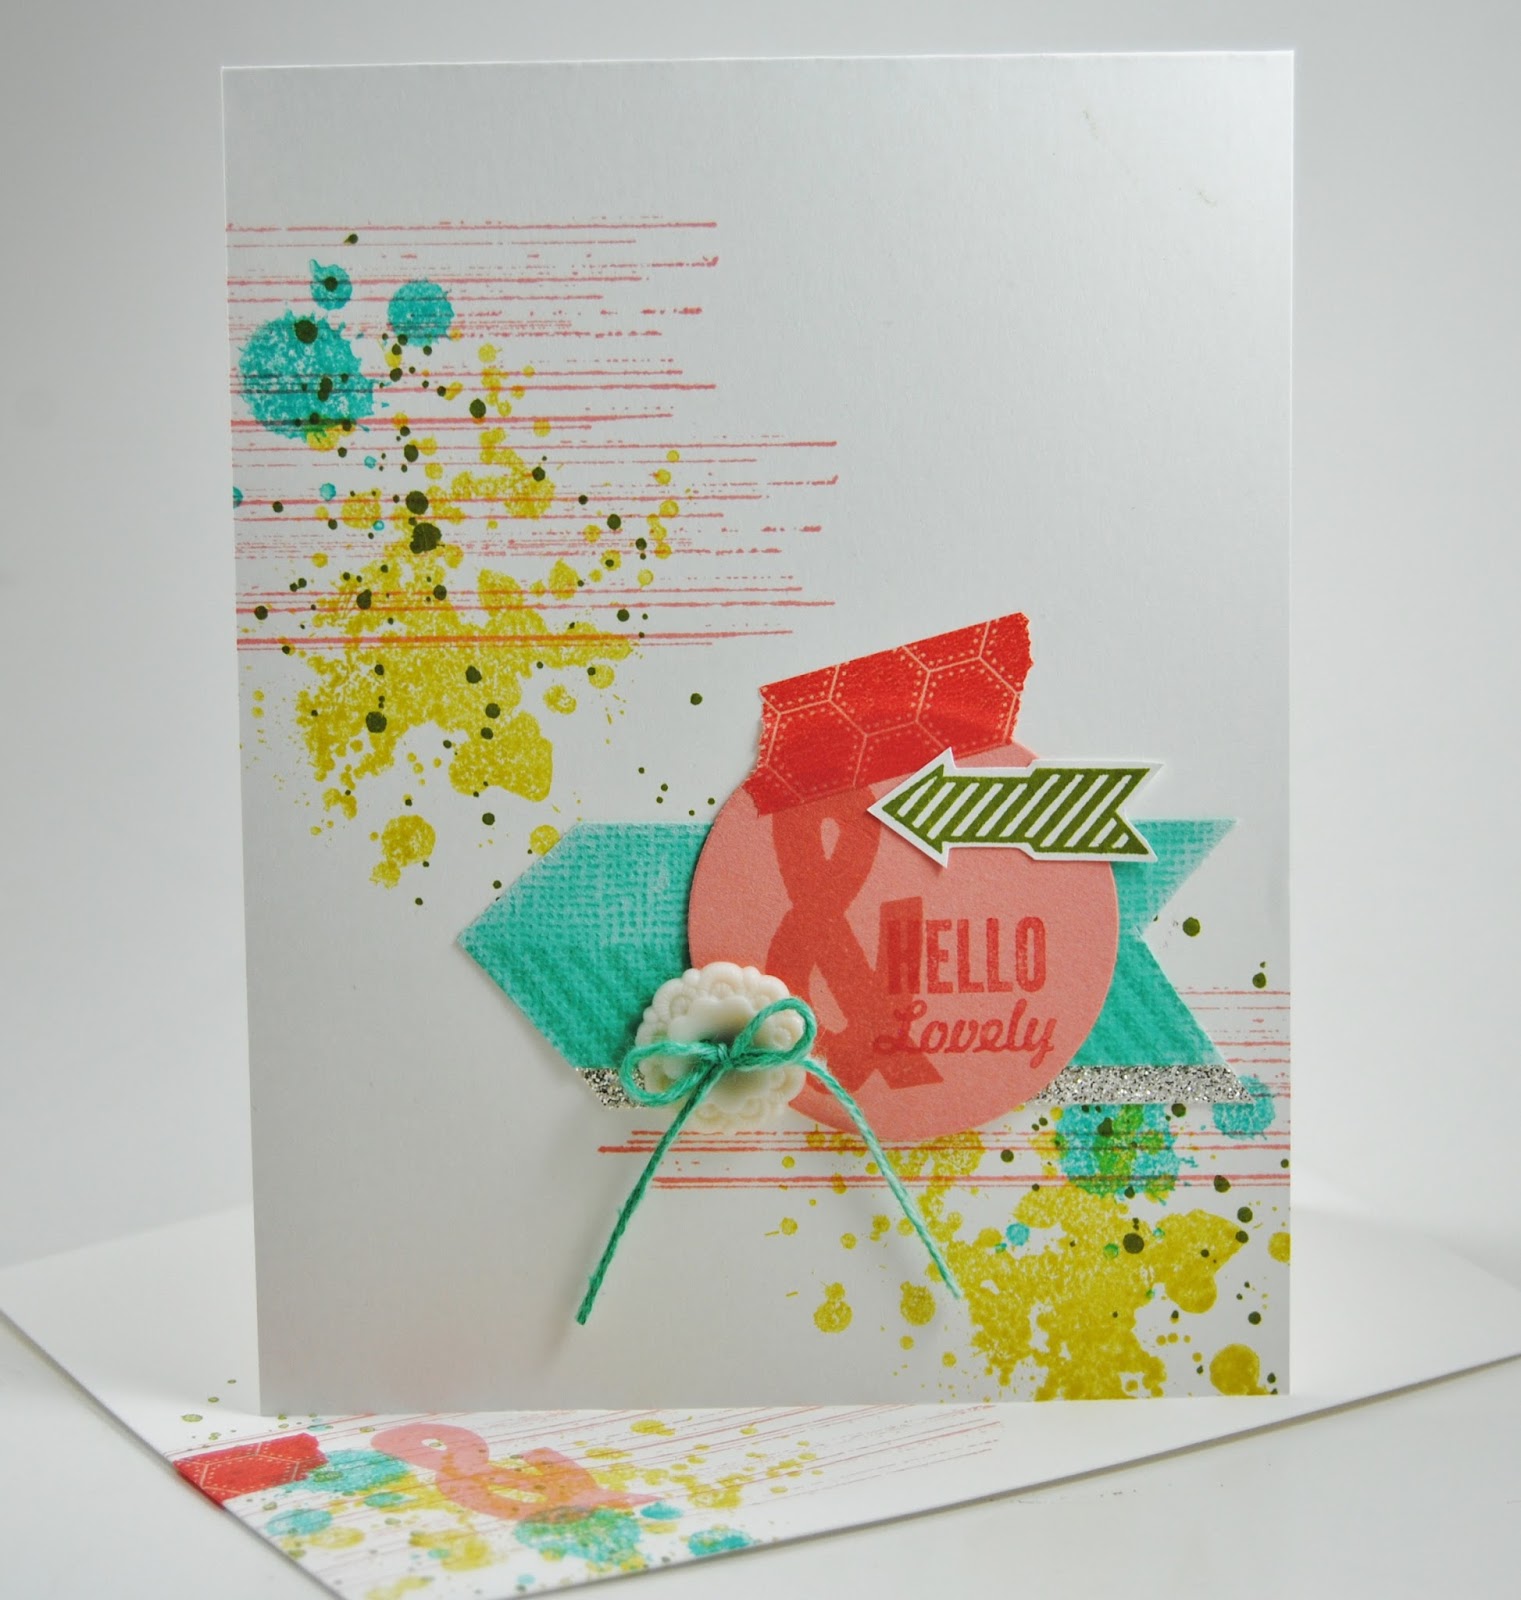
In the top box, I tucked in 4 little 3x3 cards.


These were so much fun to make!

Of course, I had to make little matching envies, using the Simply Scored.


I didn't use this stamp set nearly enough. I'm going to have to hang on to it for awhile:)


And last, but not least...

It makes me a little sad to look at these. As with all the others who entered, I really put my whole heart into this project, and the fact that it wasn't good enough, was kind of hard to take:( It was a humbling process for me. It was like when I won the jackpot on a slot machine several years ago-you always think you're going to do it again! But it just wasn't meant to be this year. I think things worked out for the best though. I've got a really full plate now as it is-that might be why I'm not fitting into any of my clothes at the moment, and the added responsibilities of the Design Team would more than likely have been too much for me right now. I left it in the hands of the good Lord to work out, and I'm honestly kind of relieved it worked out this way... Those 500 bones would have been nice though!

I want to thank you for visiting over the past 10 days. I really enjoyed sharing my works of heart with you:) Let's hop on over to Kandi's place now and see what amazingness she has for us today!

11.Patti McDermott http://craftingupthecoast.com/
 

Friday, July 12, 2013

2013 ARTISAN PROJECT #9:TRAMP ART SAMPLER

Hello there! Welcome to day 9 of the hop. You should have just come from Lauri's place. I'm hoping I get to meet some of these gals in Salt Lake City next week. It's been alot of fun working with them this past week.

Well I'm down to my last 2 projects. The 3-D's are my favorite. I always have ideas for them first. They are definitely the most time consuming, but I love 'em anyway!

I love the old samplers that young girls used to make back in the day. I guess I'm an old soul. I love anything that looks like it's been sitting in grandma's attic for years. I made the frame first a couple of months ago. I'm fascinated by the Tramp Art movement from the 1870's through the 1940's. The artists used discarded scraps and materials to make their works of art. I used the Tasteful Trim Die to mimic the carved wood and graduated the width of the strips. I used Cherry Cobbler Cardstock, the Woodgrain Background Stamp in Early Espresso, and painted the strips with Crystal Effects to make the frame look like painted wood. I sandwiched LOTS of Dimensionals in between the layers.

I used the set Hoop La La for the embroidery hoop, and used Lovely Letters and Simply Serif Alphabets. I also used In Stitches Jumbo Wheel. I took it off the roller and cut it apart to make it easier to use.

It took alot of measuring and configuring...and reconfiguring to get everything to fit just right. I started with a piece of So Saffron Cardstock and used Summer Starfruit on the Netting Background to stamp the background so it looked like a textile. I stamped each letter in Versamark, then in a designated stamp pad, used Clear Embossing Powder and embossed it. It was a tedious process. And unfortunately all the heat embossing un-embossed most of the letters-maybe that hurt this project. I'll never know, but I was happy with the end result, and it turned out pretty much just as I had imagined.

I wish I had a picture of it hanging, but I was lucky to get the pictures I did. Had it been left to me, there wouldn't be any, as I was working up until the last second. If by chance this is on display at Convention, I'll try to get a better picture of it.

I appreciate you stopping by. Next up is Kandi and I know she'll have something awesome for us today! Can't wait to see!

11.Patti McDermott http://craftingupthecoast.com/
 

Thursday, July 11, 2013

2013 ARTISAN ENTRY #8:OH, HELLO CARD:

Hello there! Well we're winding down our Artisan Entry Blog Hop-only a few days left:( You should have just come from Lauri's blog:) Today I have my final card to share with you:

This might be my favorite card that I entered so I wanted to save it for last. I used the sets Oh, Hello and Stippled Blossoms. I didn't really like either of these sets when I saw them initially, but they've both grown on me. Probably all the amazing samples I've seen with them.

I used the Tea For Two DSP and several items from the Artisan Embellishment Kit-with a name like that, I had to use it, right? The color scheme was Pretty in Pink, Bashful Blue, So Saffron, Lucky Limeade and Early Espresso on a Very Vanilla background. I did stamp the flower onto Whisper White Cardstock however, because it was too peachy on Very Vanilla, and I didn't mind the bit of white since there was white in the DSP as well.


I couldn't have made this without my trusty Stamp-a-ma-jig to line up the chevrons on the oval. It was a little time consuming coloring each block with a different marker, but I love the soft, subtle texture it added. I also used some of my most favorite Flower Trim. I'm really missing it:( I did a little paper-piercing and added a Crochet Trim bow.

I finished it off with the Finishing Touches Adorning Accents and Edgelits and a bunch of Basic Pearls. I'm usually not a flowery cardmaker, but I was happy with how this turned out. I hope you like it too!

I know we're going to like what Kandi has for us today. Let's go check it out! Thanks so much for stopping by today:)

11.Patti McDermott http://craftingupthecoast.com/
 

Wednesday, July 10, 2013

2013 ARTISAN ENTRY #7:EPIC DAY CARD:

Hello there! So glad that you decided to join us again today! You should have just come from Lauri's place. I knew she'd have something good for us today! I'm just about wrapping up my cards and then onto my 3-D projects.

I wanted to make sure I had a masculine card in the mix, so I knew Epic Day was the way to go. I love the pops of color paired with the Basic Grey and Crumb Cake neutrals. I thought the First Edition Specialty DSP would be a perfect compliment to the palette.

I used the stamp sets Clockworks, Elements of Style and One In A Million. I used the Epic Day This & That DSP, Stickers and Washi Tape-so much fun having everything coordinate. I added an Antique Brad, Silver Basics Button and a Hung Up Cute Clip.


I added some stitching with my sewing machine, cuz it's just so fun! I used Crumb Cake and Basic Grey Cardstock, along with the same ink and added Gumball Green and Calypso Coral.

Again, with this card I made a coordinating envelope. I used the Simply Scored and used a retired open end envelope as a template. I'm not sure if this card had the right stuff, but I was really happy with how it turned out. You could simplify it quite a bit and it would make a great guy card.

Off to check out Kandi's blog. I can't wait to see what she's made today! Thanks so much for stopping by!

11.Patti McDermott http://craftingupthecoast.com/


PAPER CRAFTERS SAMPLER BEACH BAG:


PCS July 2013_MED.jpg
 
 Hello there! Like I mentioned earlier, I was asked to be a Design Team member for Paper Crafters Sampler! If you click on the Paper Crafters Sampler badge on the right, it will take you to the site and see what it's all about. Here is a sample of the project that I made:


For a monthly fee, you'll get the tutorial for this project along with several others from some very talented designers. You save by purchasing a yearly subscription. Go check it out!