Monday, December 22, 2014

CHRISTMAS TREAT BUCKETS:

Hello there! I wanted to pop in here really quick and share one last minute project with you. I sing with the praise band at our church and I wanted to spread a little holiday cheer with everyone in the band. I found these cute little buckets and bags at the dollar store and filled them up with all the cookies and treats I've been baking.

I made a round card to decorate each lid, matching the design on the bucket. I did the same chalkboard technique for all, but varied the sentiments.

I made Santas using various punches and DSP...

Snowmen...

And penguins...

 Sorry I can't go into more detail, but I've got dozens of cookies to get decorated by tomorrow. Thanks so much for stopping by and have a very Merry Christmas!


Monday, December 15, 2014

NOTE TAG PENGUIN FAVOR:

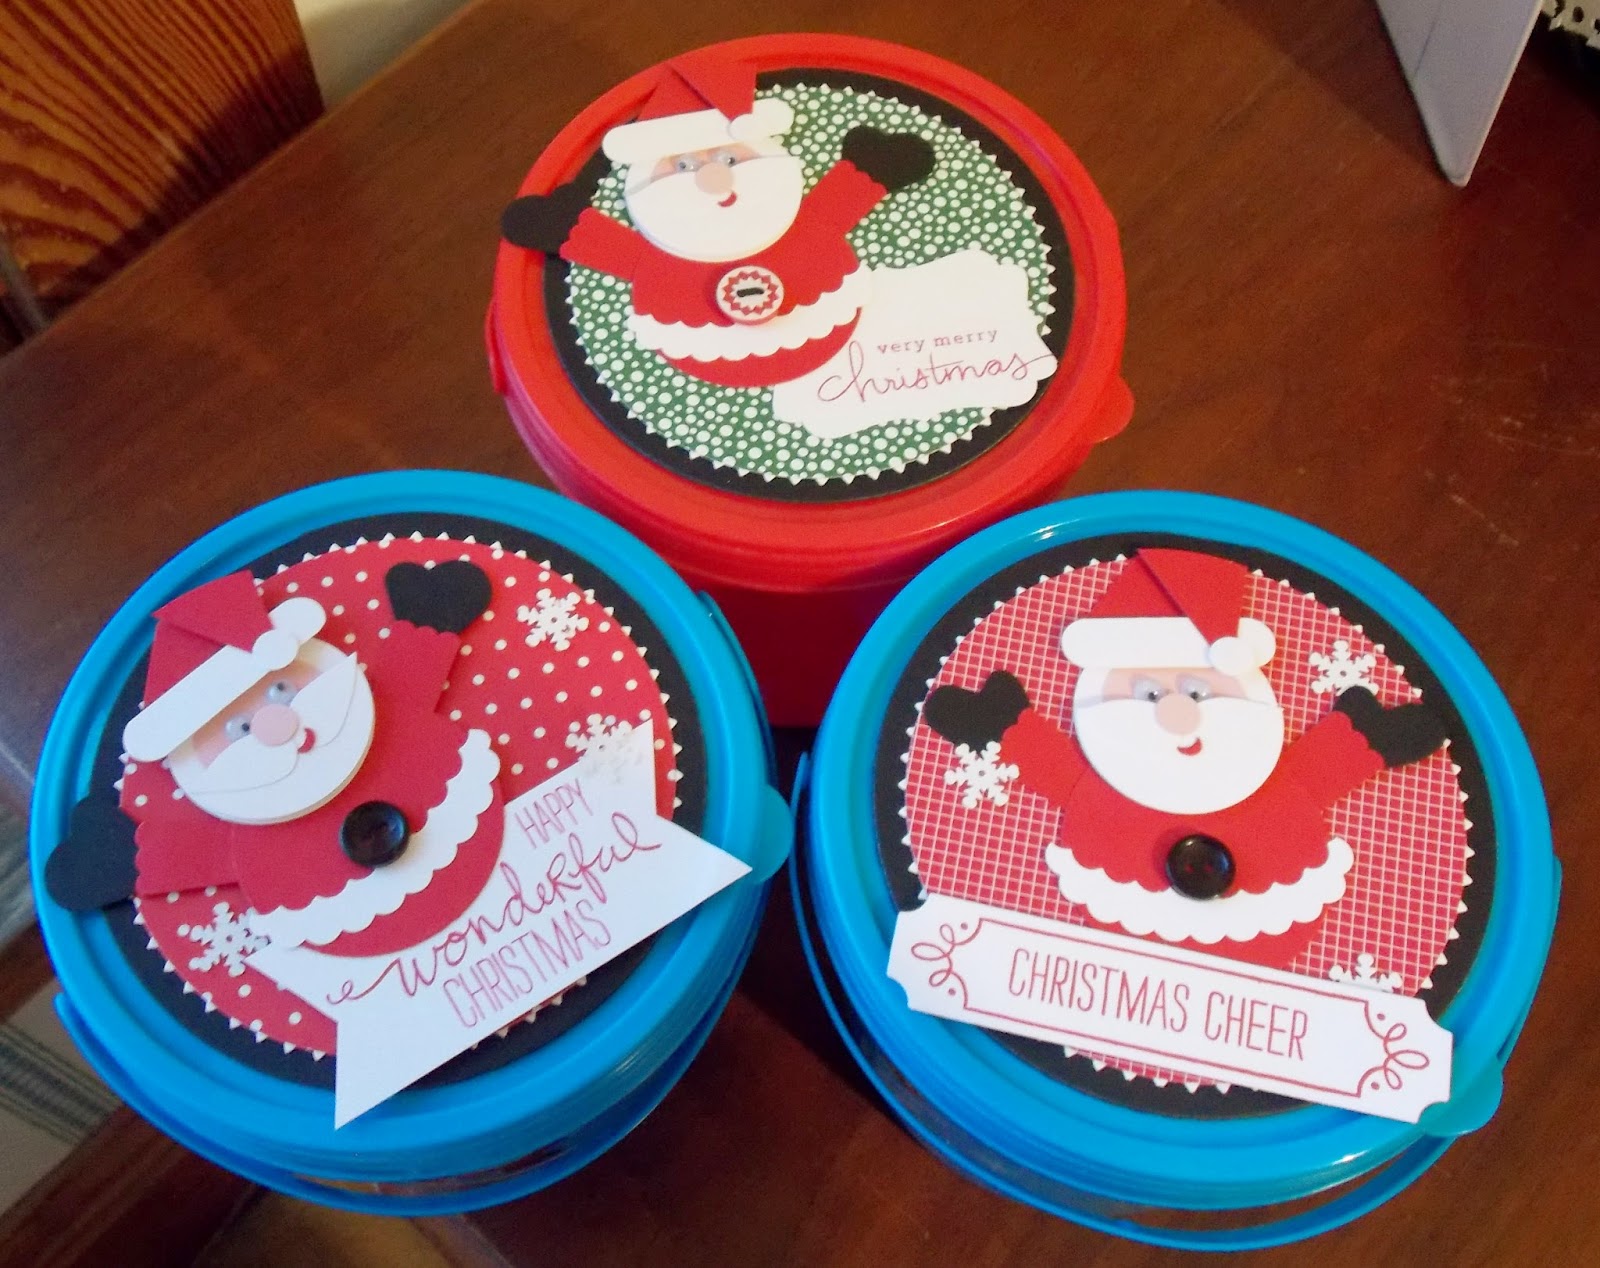
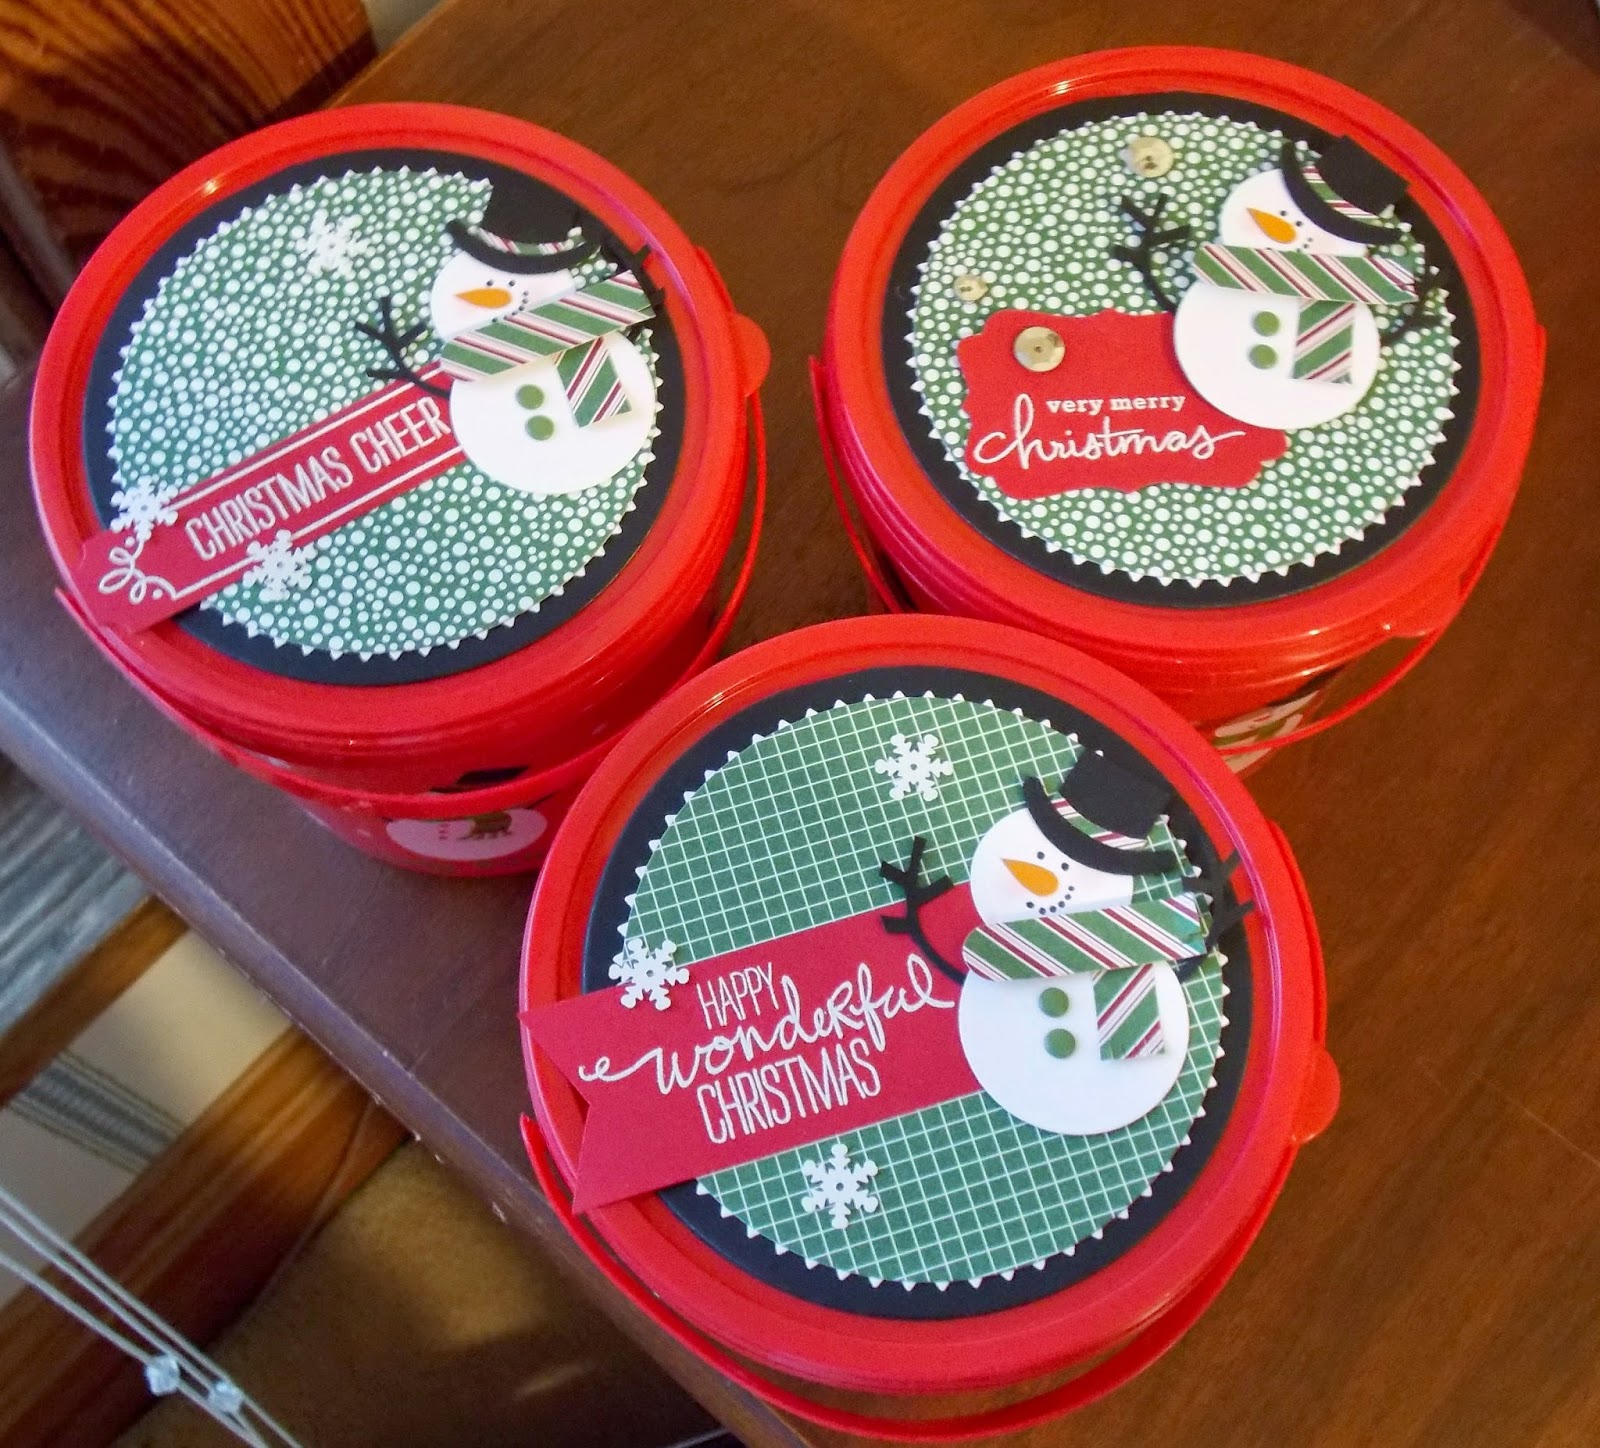
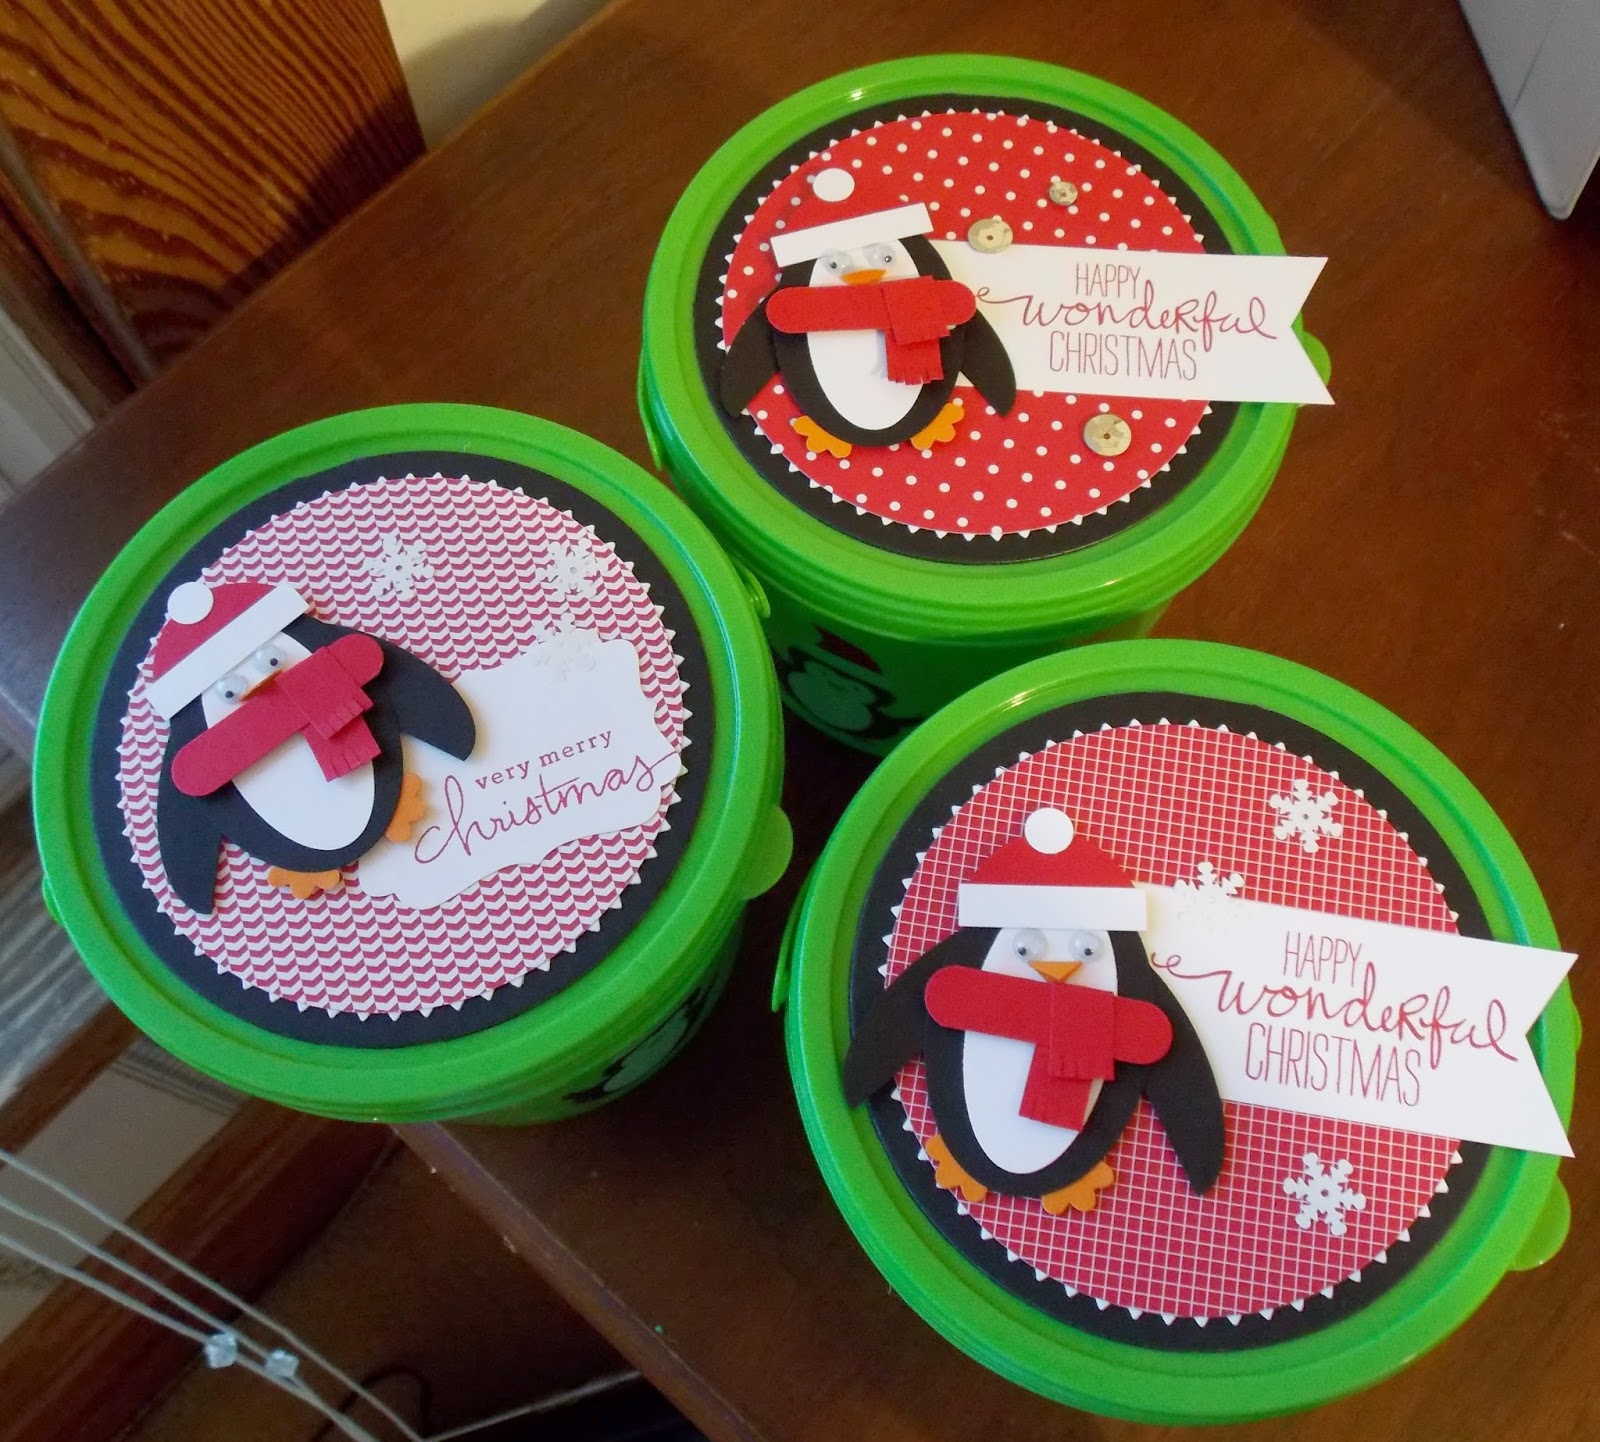
Hello there! I wanted to share this favor that I made for my Club Members at Card Night last week. It features the Note Tag Punch and was super easy to put together. I started with a piece of Basic Black Cardstock measuring 6 1/4" x 3. I scored longways at 1 1/2" and shortways at 1 1/2", 3", 4 1/2" and 6". I kept the 1/4" tab on the top row of squares, but cut off the bottom tab. I then cut up to the score lines on the bottom row score lines. I folded on the score lines to form a box. I used Fast Fuse on the tab and bottom pieces to make a small box. I punched out 2 tags using the Note Tag Punch.

I punched out 2 more tags in Whisper White Cardstock, cut off the sides and adhered to the black tags. I tied a piece of Real Red Satin Ribbon around him and secured it with a dab of SNAIL. I used my retired 1/4" square punch for his beak, but you can just cut a small square and score down the middle, using Pumpkin Pie Cardstock. I used the Word Bubble Framelits for his earmuffs in Real Read Cardstock~the smallest one and cut off one of the circles. I added a pair of Neutrals Candy Dots in black and a couple of googlie eyes. I attached the decorated tag to the front of the box with fast Fuse and the plain tag to the back. The little box is a perfect fit for a York's peppermint patty.

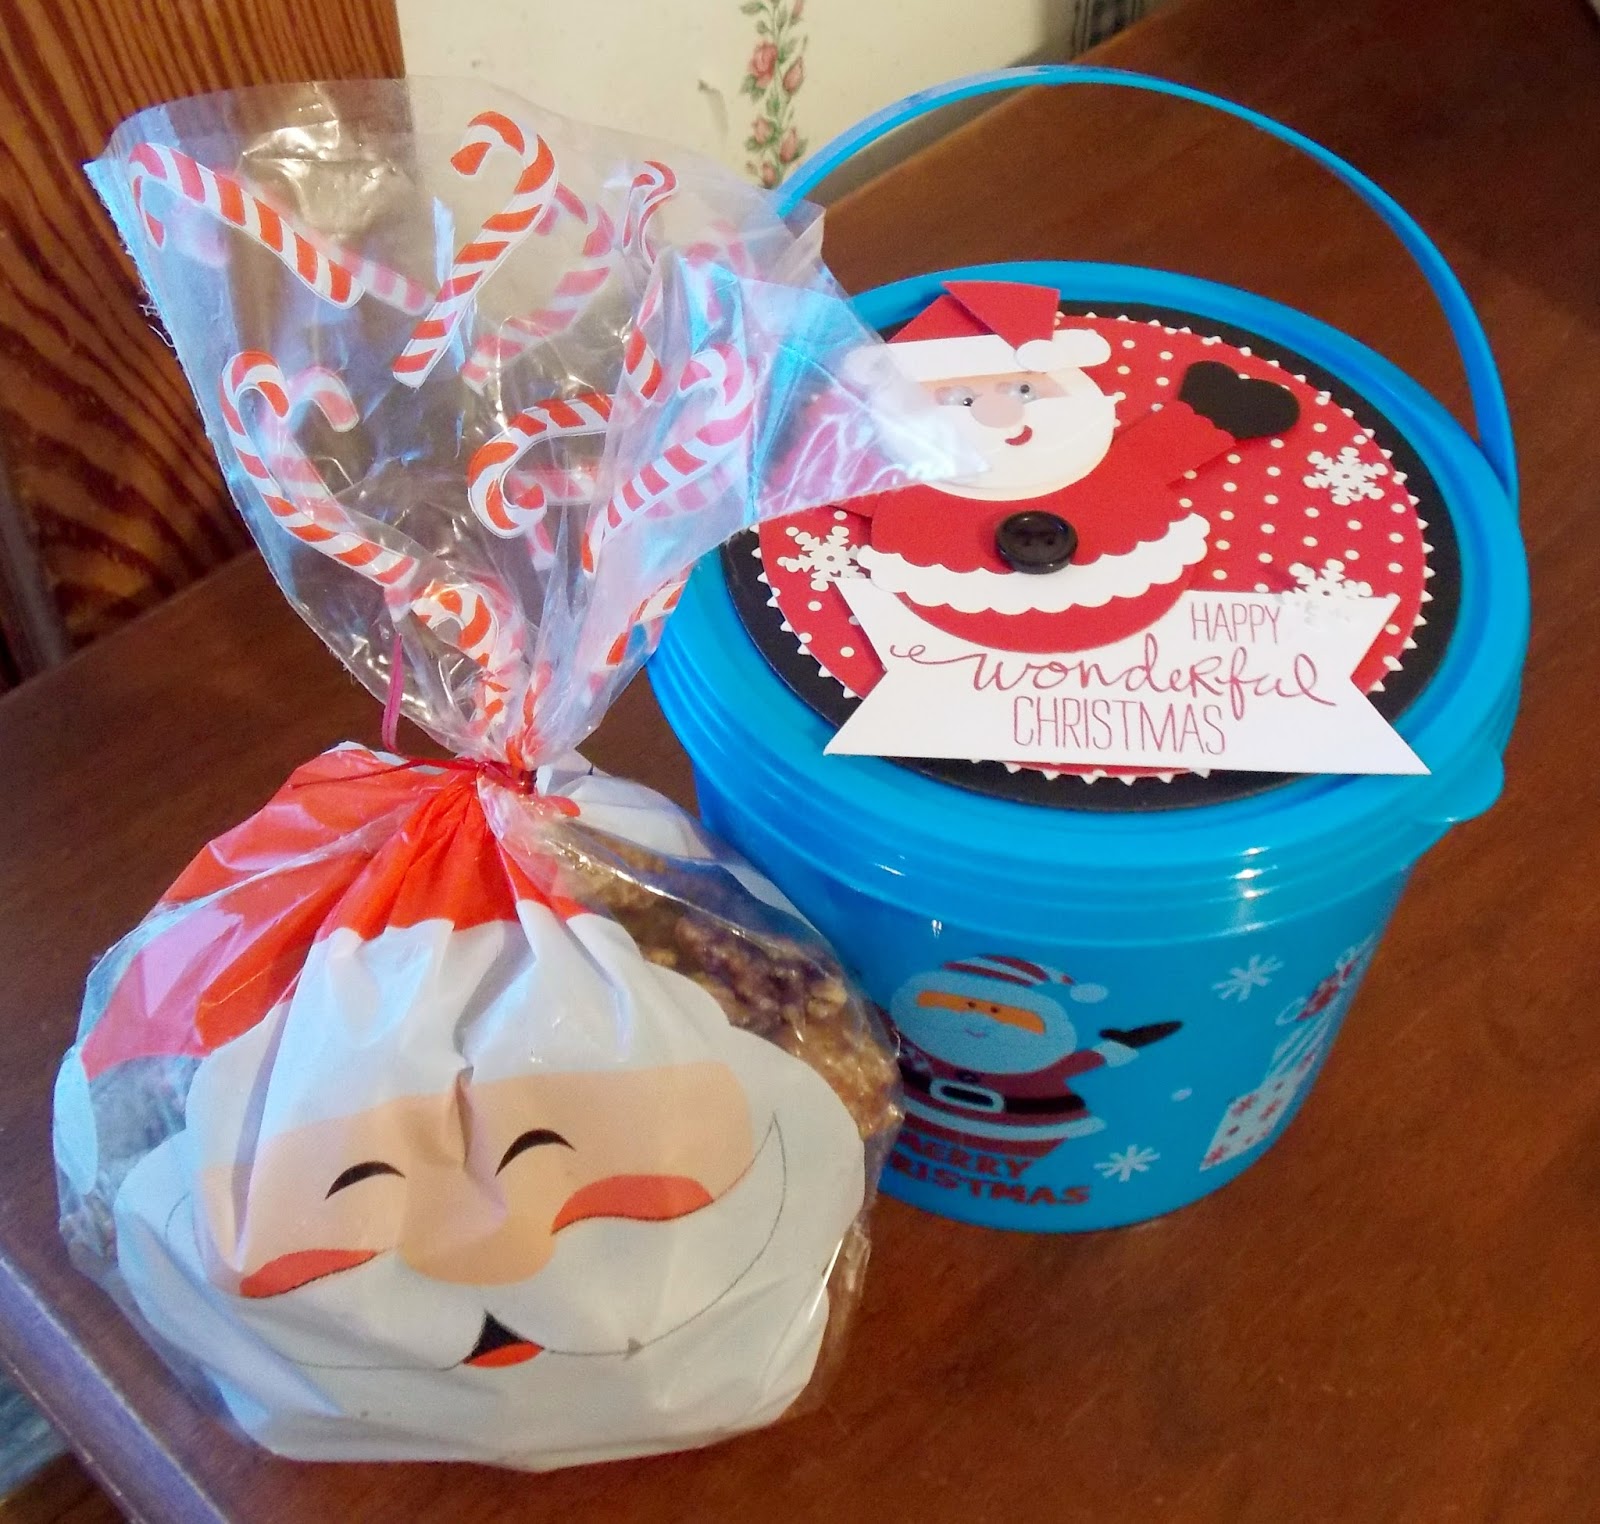
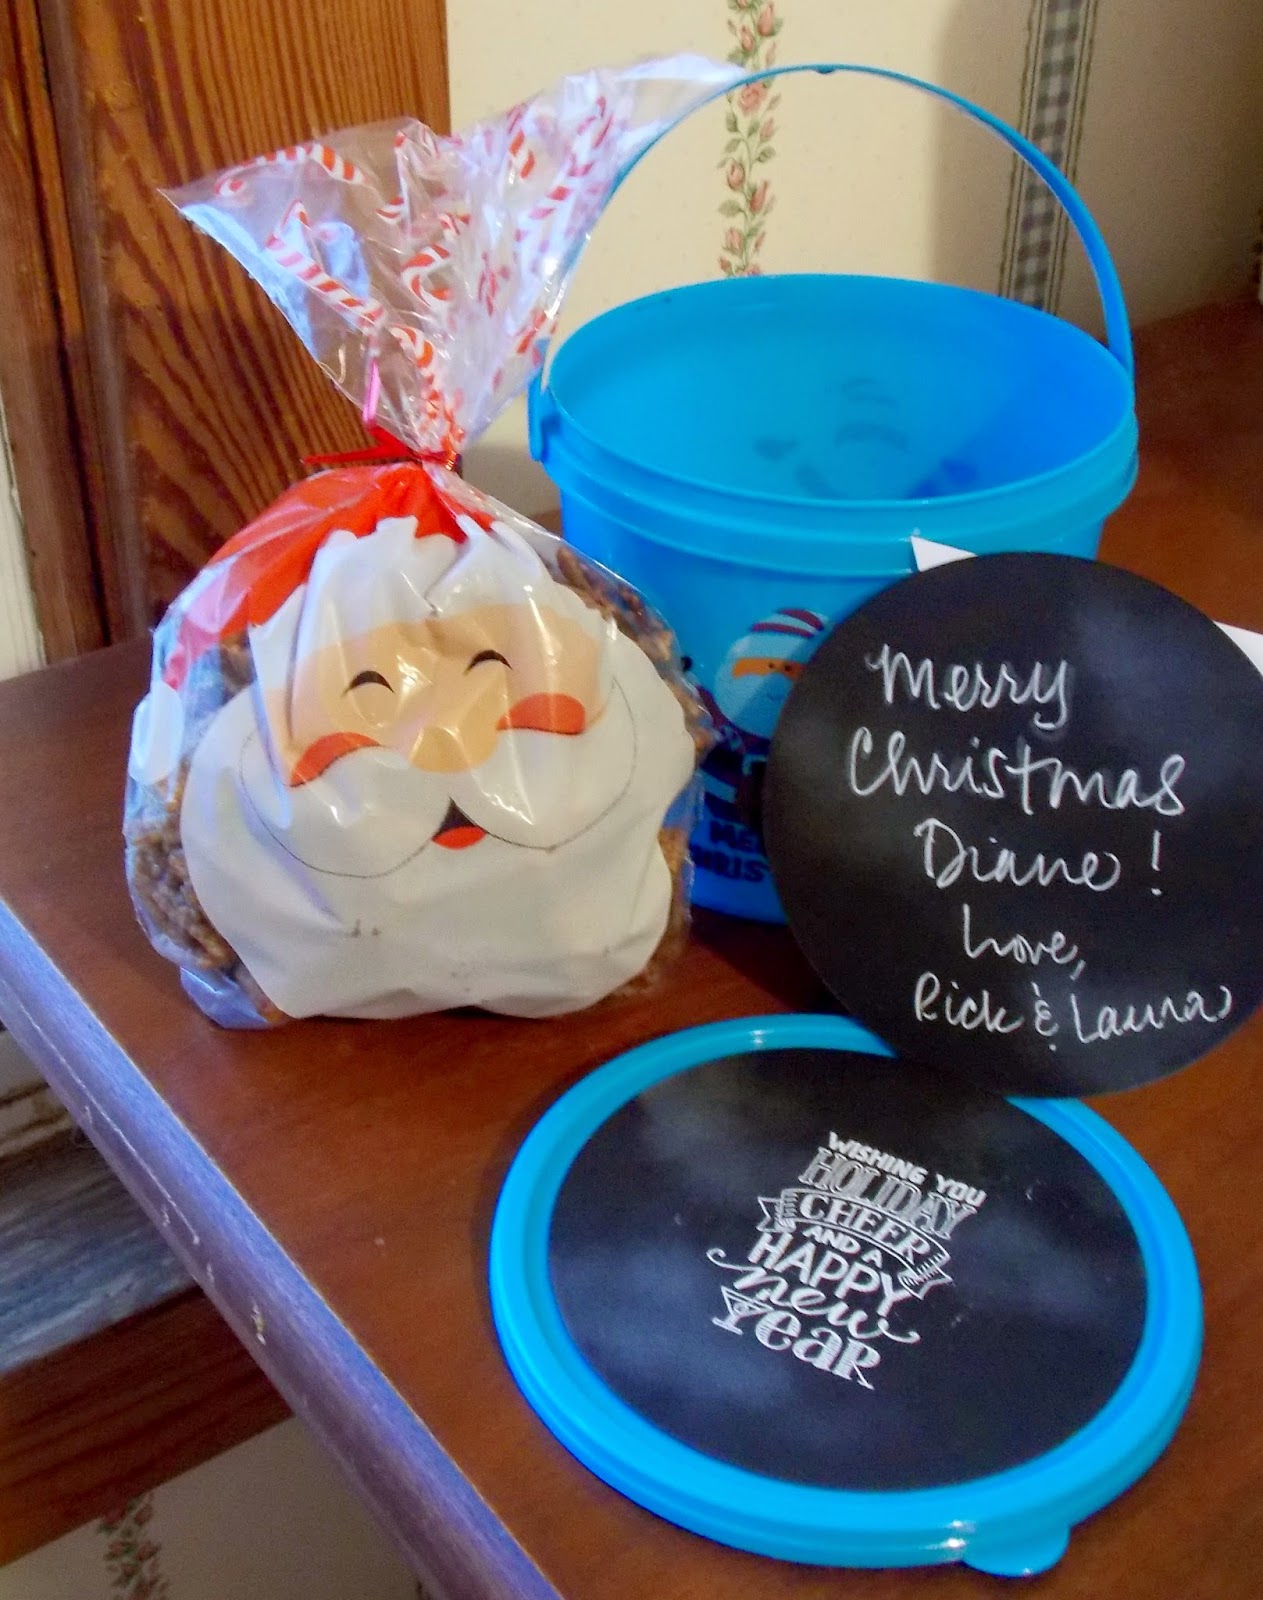
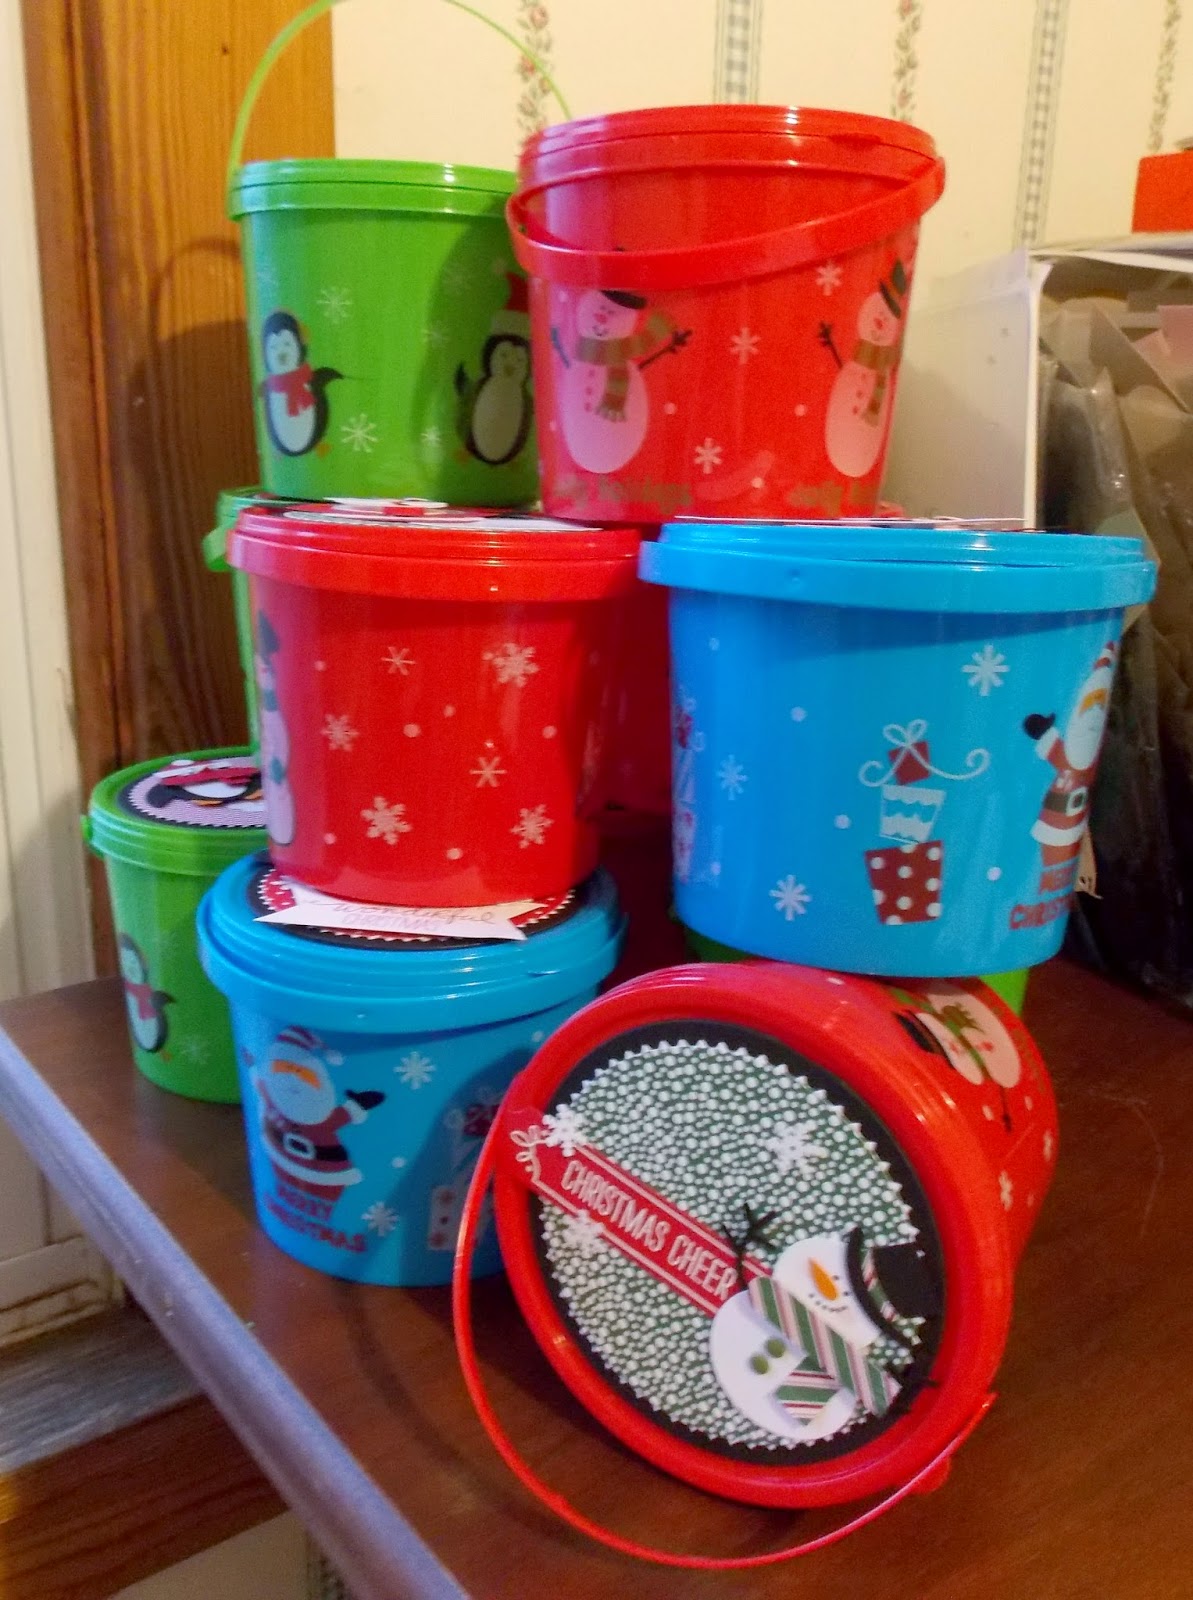
I went to a Catalog Launch in Des Moines a couple of weeks ago to get my hands on the new Occasions and SAB catalogs!!! And I got to see a couple of buddies I hadn't see in awhile. My good friend Jamie made this sweet little Santa for me and filled him with my most favorite holiday treat:)

And my other Jaimie buddy made me this:) The perfect chocolate survival kit to get me through the Christmas craziness:) What a couple of thoughtful elves!

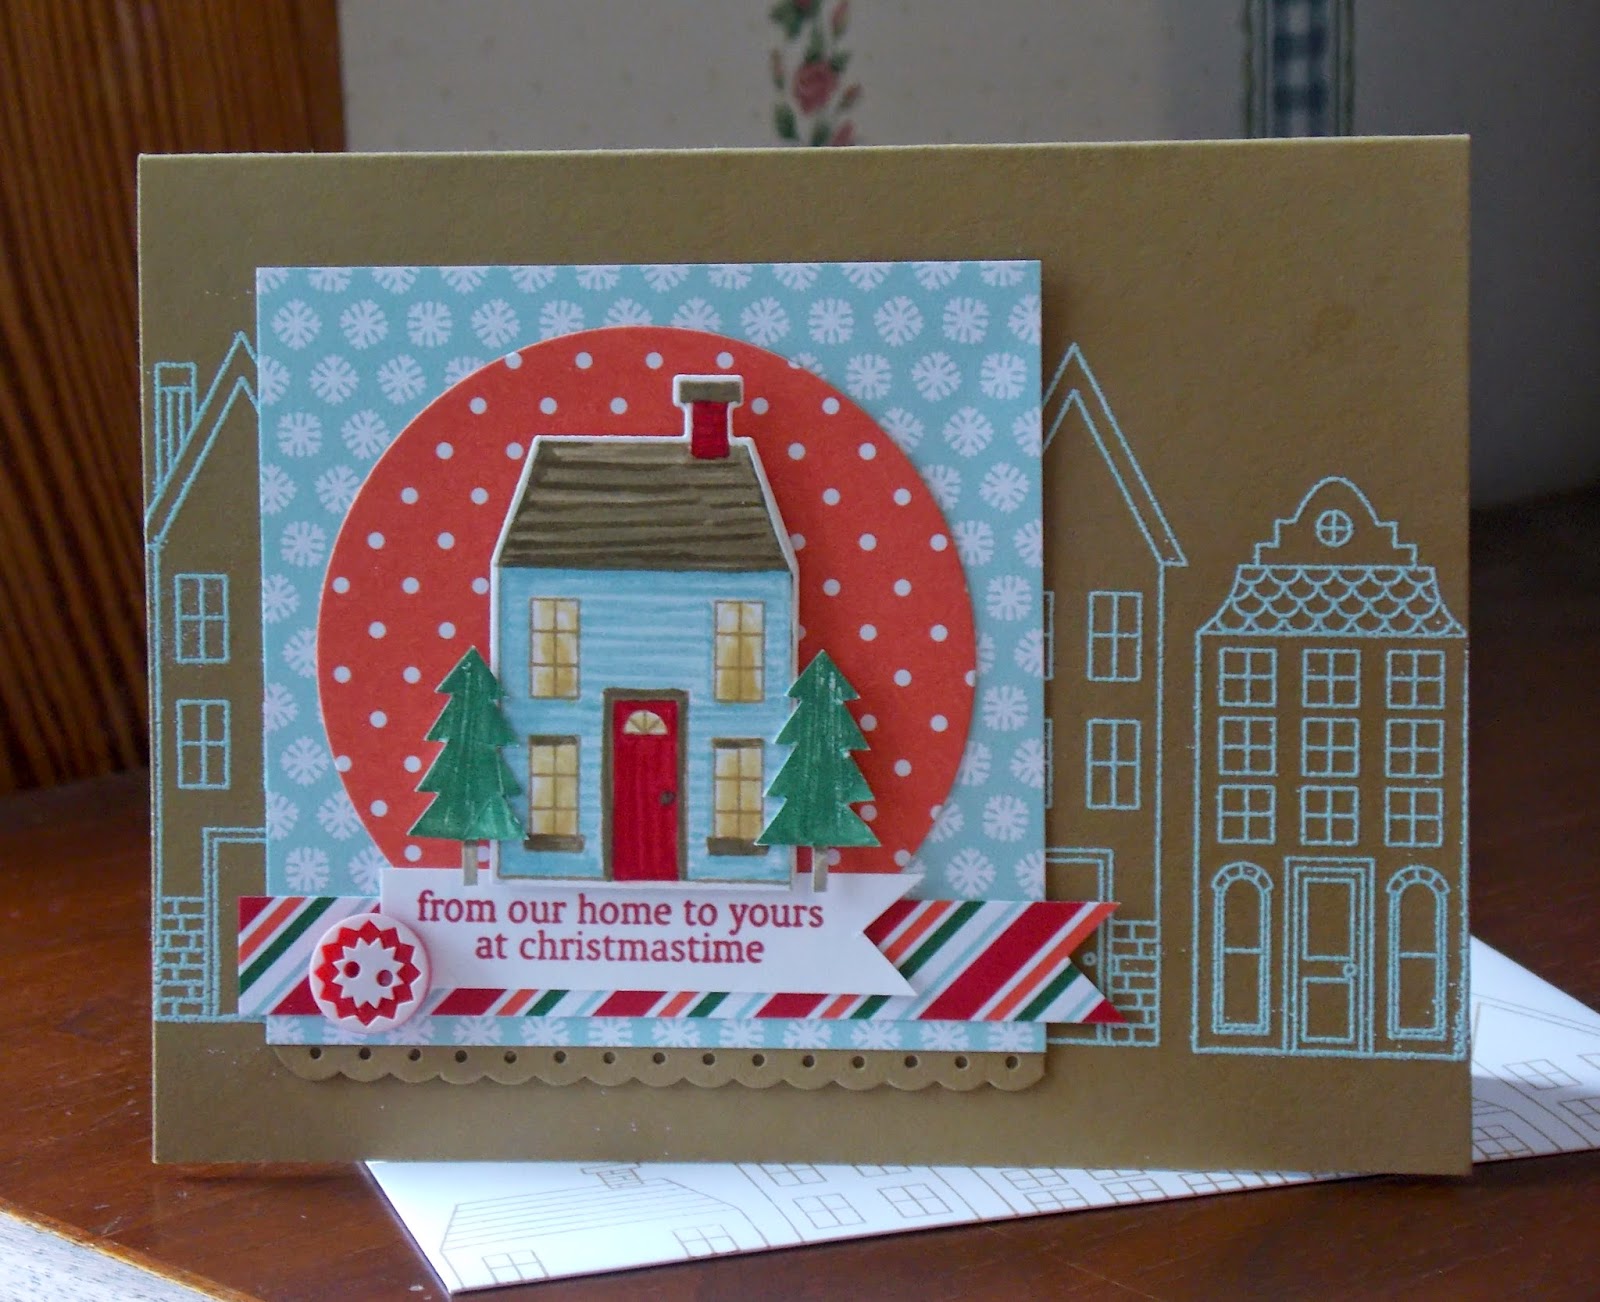
Off to make some more Christmas cards:) Love this time of year! Thanks so much for stopping by:)

Sunday, December 14, 2014

FESTIVAL OF TREES CARD:

Hello there! Just got home from doing a little caroling and wanted to pop in and share this last Christmas card we made at Club Card Night earlier this week. I started with a Crumb Cake base and added a piece of Under the Tree Specialty DSP. I used the Scalloped Tag Topper Punch to make the tag in Crumb Cake as well. I used the Tree Punch to pop out a tree in scrap paper. I centered it where I wanted it on the tag with a tiny bit of SNAIL and lined the punch over the top to get the tree centered.

I stamped the tree using Festival of Trees in Early Espresso and stuck a piece of Trim the Tree DSP underneath using Dimensionals. What a fun stamp set~all kinds of trees and lots of different ways to decorate them:) Before I attached the DSP to the tag, I straightened the stamp and added the fun stitching to the bottom. It's really cool how you can manipulate photopolymer stamps to work in many different ways. I wanted to add the stitching all the way around the card as a border, but knew my card ladies would kill me, so I compromised.

I added some of the lovely Cherry Cobbler Sheer Linen Thread through the tag and popped on a Nordic Designer Button thread with Cherry Cobbler Baker's Twine. I attached it with a Glue Dot and tucked the sentiment underneath stamped in Early Espresso. This was such a fun and super easy card to make~you could definitely knock a bunch of these out by Christmas. I'm hoping to get time to come up with a few more ideas for all these awesome stamp sets I've shared the past few days. Make sure to stop back tomorrow for some fun favors for everyone on your nice list! Thanks so much for stopping by:)

Saturday, December 13, 2014

HOLIDAY HOME CARD:

Hello there! I have another Christmas card to share with you using the set Holiday Home and coordinating Homemade Holiday Framelits. I started with a Baked Brown Sugar base and heat embossed the background houses in Pool Party Embossing Powder and Versamark ink. I lined the bottoms of the photopolymer houses up along the edge of my table and butted them right next to each other. I then placed the clear block over them to get perfect alignment on the block.


Next I added a piece of Nordic Noel DSP as a backdrop for a Calypso Coral circle from the Subtles DSP Stack using the Circles Collection Framelits and Big Shot to cut it out. I stamped the house in Baked Brown Sugar onto Whisper White Cardstock and colored it with Soft Sky, Baked Brown Sugar, Real Red and So Saffron Markers. I then cut it out using the Homemade Holiday Framelits. I stamped the trees using Garden Green & Baked Brown Sugar Markers. I cut them out and adhered all 3 pieces with Dimensionals to the Calypso circle. I added a sweet little gingerbread border underneath the DSP using the Dotted Scallop Ribbon Border Punch.

Next I added a strip from another design of Nordic Noel DSP and the sentiment was stamped in Real Red onto Whisper White. Finally I added one of my favorite Nordic Designer Buttons. Back to my cardmaking:) Check back tomorrow for another. Thanks so much for stopping by!

Friday, December 12, 2014

WHITE CHRISTMAS CARD:

Hello there! Here's another card we made at Club Card Night using White Christmas. I started with a Sahara Sand base and added a layer that was embossed with the Lucky Stars Embossing Folder with the help of the Big Shot. I then added a layer of Vellum Cardstock that I stamped with White Stazon ink. I flipped it over and did a little coloring with Sahara Sand, Real Red, Pear Pizzazz, Pool Party and Basic Grey Markers. I used the White Chalk Marker for the snow at the bottom.

I added a piece of All Is Calm Specialty DSP behind the vellum, rounded the corners with the Corner Rounder Punch and added little Glue Dot balls between the layers to give it a little depth. I sprinkled some Very Vanilla stars around that I punched with the Confetti Stars Punch, covering up the Glue Dots. I wrapped a piece of the luscious Real Red Satin Ribbon around the embossed piece and attached it to the base. I stamped the sentiment in Real Red onto Sahara Sand Cardstock and tucked it underneath the snowman. I stamped him in Sahara Sand as well and colored him with Real Red, Pool Party and Pumpkin Pie Markers. I punched him out with a 1" Circle Punch and attached with a Dimensional.

I added a bow with a Glue Dot and one of the precious Nordic Designer Buttons. I plan on using every last one~they're so adorable! Well off to make up 24 of the Christmas cards we made last night. Got my Carpenters Christmas on and a Venti Skinny Caramel Macchiato on the way~Merry Christmas to me:) Thanks so much for stopping by!

Thursday, December 11, 2014

BRIGHT & BEAUTIFUL CARD:

Hello there! I hope you're surviving the hustle & bustle of this time of year~I love it! I've got Club Card Night tonight and I'm ahead of the game for a change, so I thought I'd post one of the cards we'll be making. This card features the set Bright & Beautiful and the Stars Framelits Dies. I started with a Crumb Cake base and cut out a star on the front. I then embossed it using the Filigree Frame Embossing Folder along with the Big Shot.

Make sure to do the cutting before embossing so the embossing doesn't get smashed. I masked off part of the sentiment with a post-it note, and stamped it in Crumb Cake ink onto Very Vanilla Cardstock. I added a few Frosted Sequins and attached with Glue Dots.

For the inside, I stamped the star with Whisper White Craft ink and heat-embossed it with White Embossing Powder. I punched out some stars from Champagne Glimmer Paper using the Itty Bitty Accents Punch Pack. I adhered them to a piece of Gold Metallic Baker's Twine with Glue Dots, and then added Glue Dots underneath to attach to the star. I stamped the sentiment in Crumb Cake, popped the star up with Dimensionals and added a couple more snowflakes as well.

Well off to go get everything set up for tonight. Make sure to stop back tomorrow for another Christmas card. Thanks so much for stopping by:)

Monday, December 1, 2014

REINDEER FRY BOX:

Hello there! Here's what I made for my Hostess gift this month. I used the Fry Box Die with Chocolate Chip Cardstock. I used the Large Oval Punch for his ears and face~in Soft Suede. I used the 1" Circle Punch for his eyes in Whisper White and nose in Red Glimmer Paper. I used the 1/2" Circle Punch for his eyes in Basic Black.

For his antlers I used the Autumn Accents Die along with the Big Shot using Basic Black Cardstock. I just cut some of the leaf off to get the antler shape. I attached the antlers and face with Dimensionals. I filled a 4x6 Cellophane Bag with chocolate, added a tag made with Good Greetings and tied it up with Cherry Cobbler Baker's Twine. This would be a super quick & easy little gift for all the elves on your shopping list. Thanks so much for stopping by:)